Share:
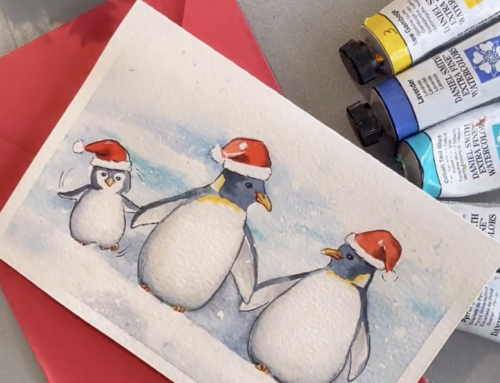
This photo of my still life set-up was one of many taken during the photo session. The image was cropped in Photoshop. The whites, which are too warm in the photo, were corrected in the painting process.
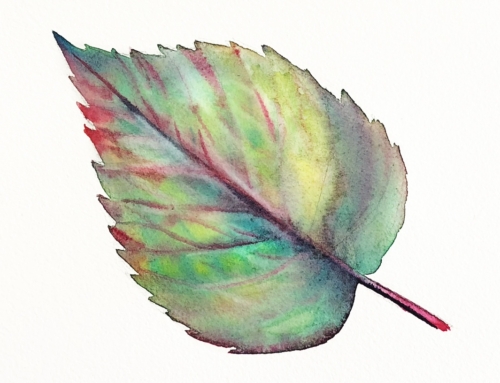
The image was transferred onto 300# soft-press paper by projecting it using a high-resolution LCD projector and tracing the shapes using 2H lead in a mechanical pencil. The painting began with the lightest objects – the Chinese jar and the fabric.

The remaining objects in the back row were painted from left to right. Each object was masked individually with drafting tape. The rest of the paper was protected with tracing paper. One object was exposed at a time as it was being painted.
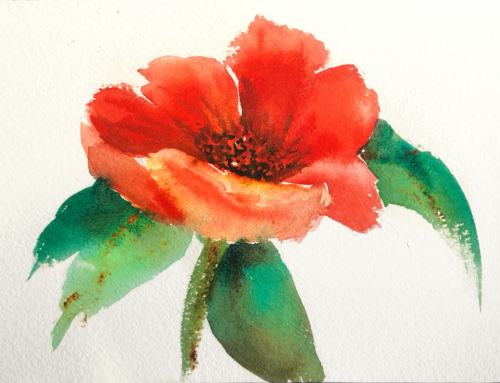
The foreground fabric was painted next, followed by the cherries and the crystal bowl. The highlights on all the objects were masked with DANIEL SMITH Masking Fluid.


The darkest object (the silver cup) was painted last and with special attention paid to the reflections in the metal.
An underpainting was applied to the background areas, which would later be painted with McCracken Black. For the area under the table, a Burnt Sienna underpainting was used to harmonize with the table top. A blue underpainting was used above the table to add life to the blue on the porcelain.


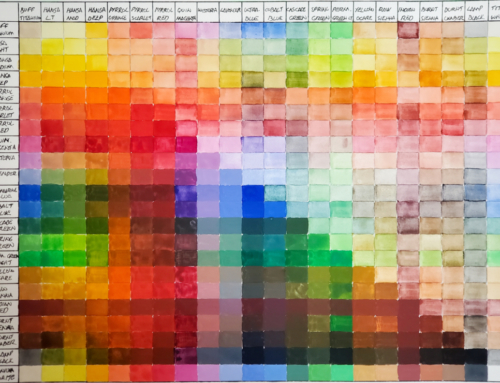
The final black of the background was applied in a single, relatively-thick coat. As the paint dried, an old brush was used to “scumble” away the brush strokes and create a velvet-like matte finish.
This photo of the completed painting was taken with a professional camera, which allows for the highest possible image resolution, which is ideal for submission to competitions and publications.