Share:
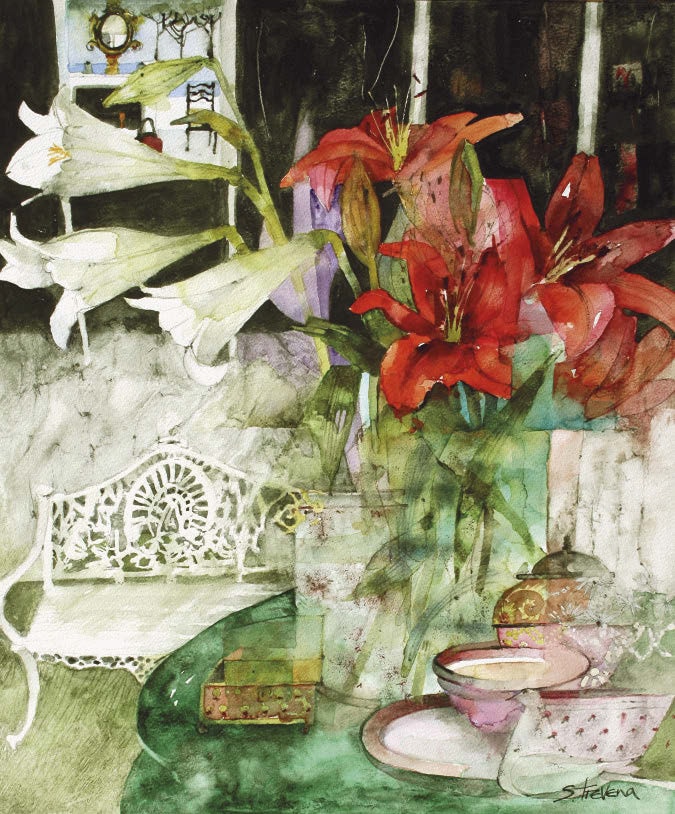
Inspired by a photograph I had taken in a French garden, these amaryllis and lilies were placed in front of a row of conservatory windows. Bright sunshine made the windows black and glossy, giving a perfect background to these wonderful flowers. For my composition, I placed a green cloth under the vase, added a few props including a small china dove in the right-hand corner. The lacy garden seat and view through the window were images I found in my collection of photographs. The scarlet amaryllis are the stars of this show, the reds singing sweetly against the vibrant greens.
STEP 1
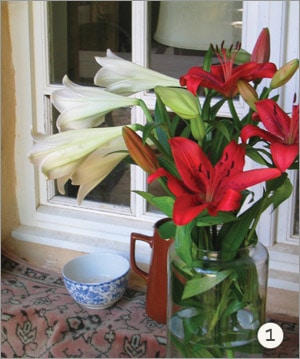
Here is my photograph of some amaryllis and lilies placed on a windowsill. I could see the possibilities of a painting and added a strip of pink patterned carpet, a jug and bowl. We were staying in a house in France, I didn’t have my wonderful props with me so it was all a bit make do, but I knew I could use this image for a painting when I got back home in England. I don’t begin with a pencil drawing on the paper, I just jump straight into the deep end and start painting the red amaryllis.
STEP 2
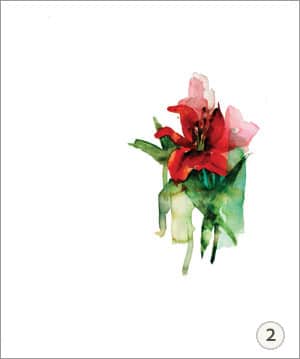
I painted the surrounding colours to the amaryllis with various greens and blues. Rather like working on a jigsaw, I only add colours to existing paint marks.
STEP 3
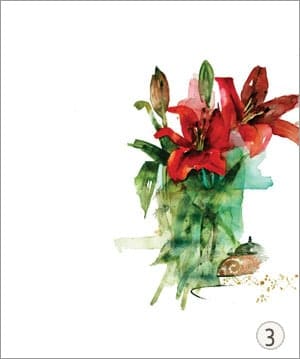
At this stage, I can’t wait to see how the dark areas of the windows will exaggerate the various shades of red and give me the negative spaces of the white lilies. With these rich, dark areas painted, the picture comes alive, stretching out to the edges of the paper.
STEP 4
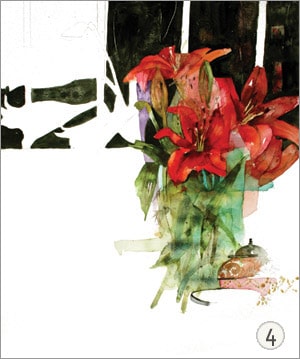
I now had to decide what objects I would choose to replace the jug and bowl in my photograph. I wanted it to be a garden painting, so I pulled the composition away from the windowsill and put the vase and bowls on a green table. I found a photograph of a garden bench, this I did draw on the paper first and then used masking fluid to keep its whiteness. I never use white paint, all my whites are the watercolour paper shining through. The view through the window is also a picture cut from a magazine and placed on the paper just to make sure it was going to work – or it will tell me if I should go ahead and darken the whole top area. This is the beauty of checking first with cut-out paper, if it’s wrong you can change it without a lot of heartbreak over trying to take out large areas of paint.
STEP 5
The vibrant green tablecloth connects the floral still life to the base of the picture. The masking fluid has been removed and you can now see the shape of the bench. There was a lot of tweaking the colours at this point – the centre of the colours were darkened, the leaves and stalks were made more vibrant.
STEP 6
I have added the view through the window, copying my cut-out photograph. The box and china now have more colour and a small white china dove had been painted in the bottom right-hand corner. The red amaryllis are certainly the stars of this show and rather like stained glass, they glow against the dense, dark areas.
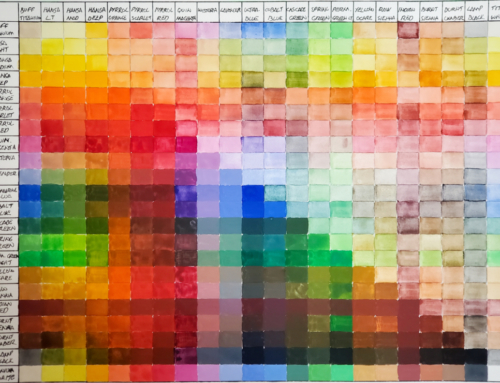
Shirley’s DANIEL SMITH Watercolor palette”


