Traditionally watercolor has been limited to specialty papers which need costly framing with glass or plexi to protect the delicate surface of the painting. But DANIEL SMITH Watercolor Ground gives watercolor new life on a wider variety of surfaces, many of which can be self-framing. This is a win/win for both artists and collectors who share in the cost of materials as part of an artwork’s pricing.

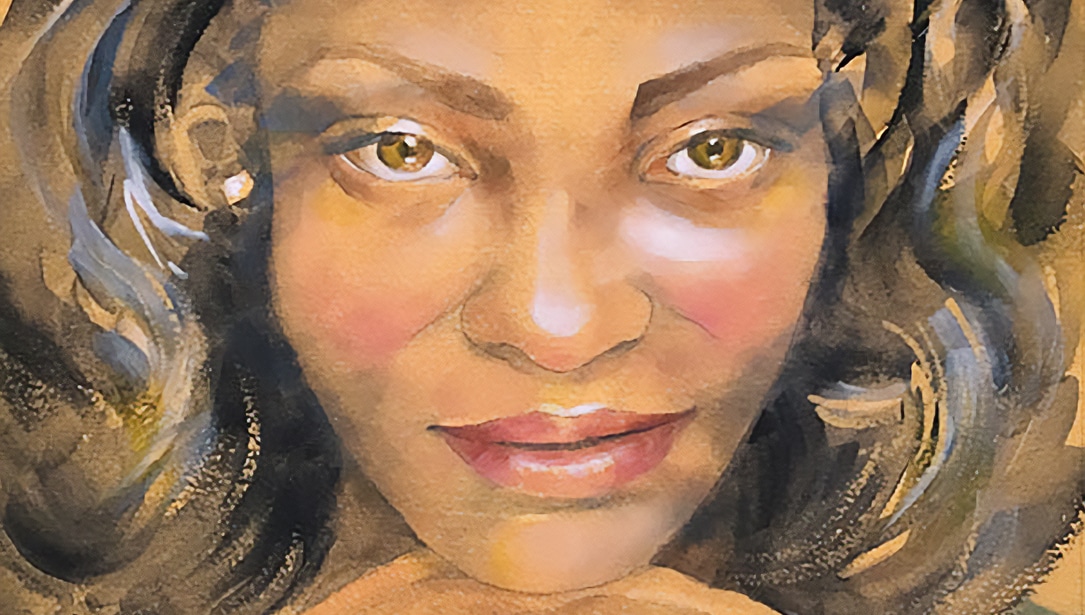
Australian Flora by Caroline Deeble (series of three 12×12 wood panels)
For the Wattle Flower project, part of my Australian Flora series, I have chosen to use the glamorous Iridescent Gold Watercolor Ground, which has subtle shimmering qualities that shine light from the surface of the painting. By sealing a wood panel with the Watercolor Ground, I’ve created a new surface that behaves similar to watercolor paper.

Supplies needed:
- Artist wood panel
- DANIEL SMITH Watercolor Ground – Iridescent Gold
- A separate soft hair or foam brush for applying the ground (wash immediately after use in warm soapy water)
- Cold wax varnish
- Gilding foil & size paste
- Watercolor brushes
- DANIEL SMITH Watercolors:
- Lightly clean your panel with a dry cloth. Paint a neat layer of Watercolor Ground across the surface. The brush strokes will dry and become texture in your artwork. Experiment with surface textures by using different brushes or sponges as you apply the ground. Clean up your edges then allow 24 – 48 hours to completely cure the ground on the panel.

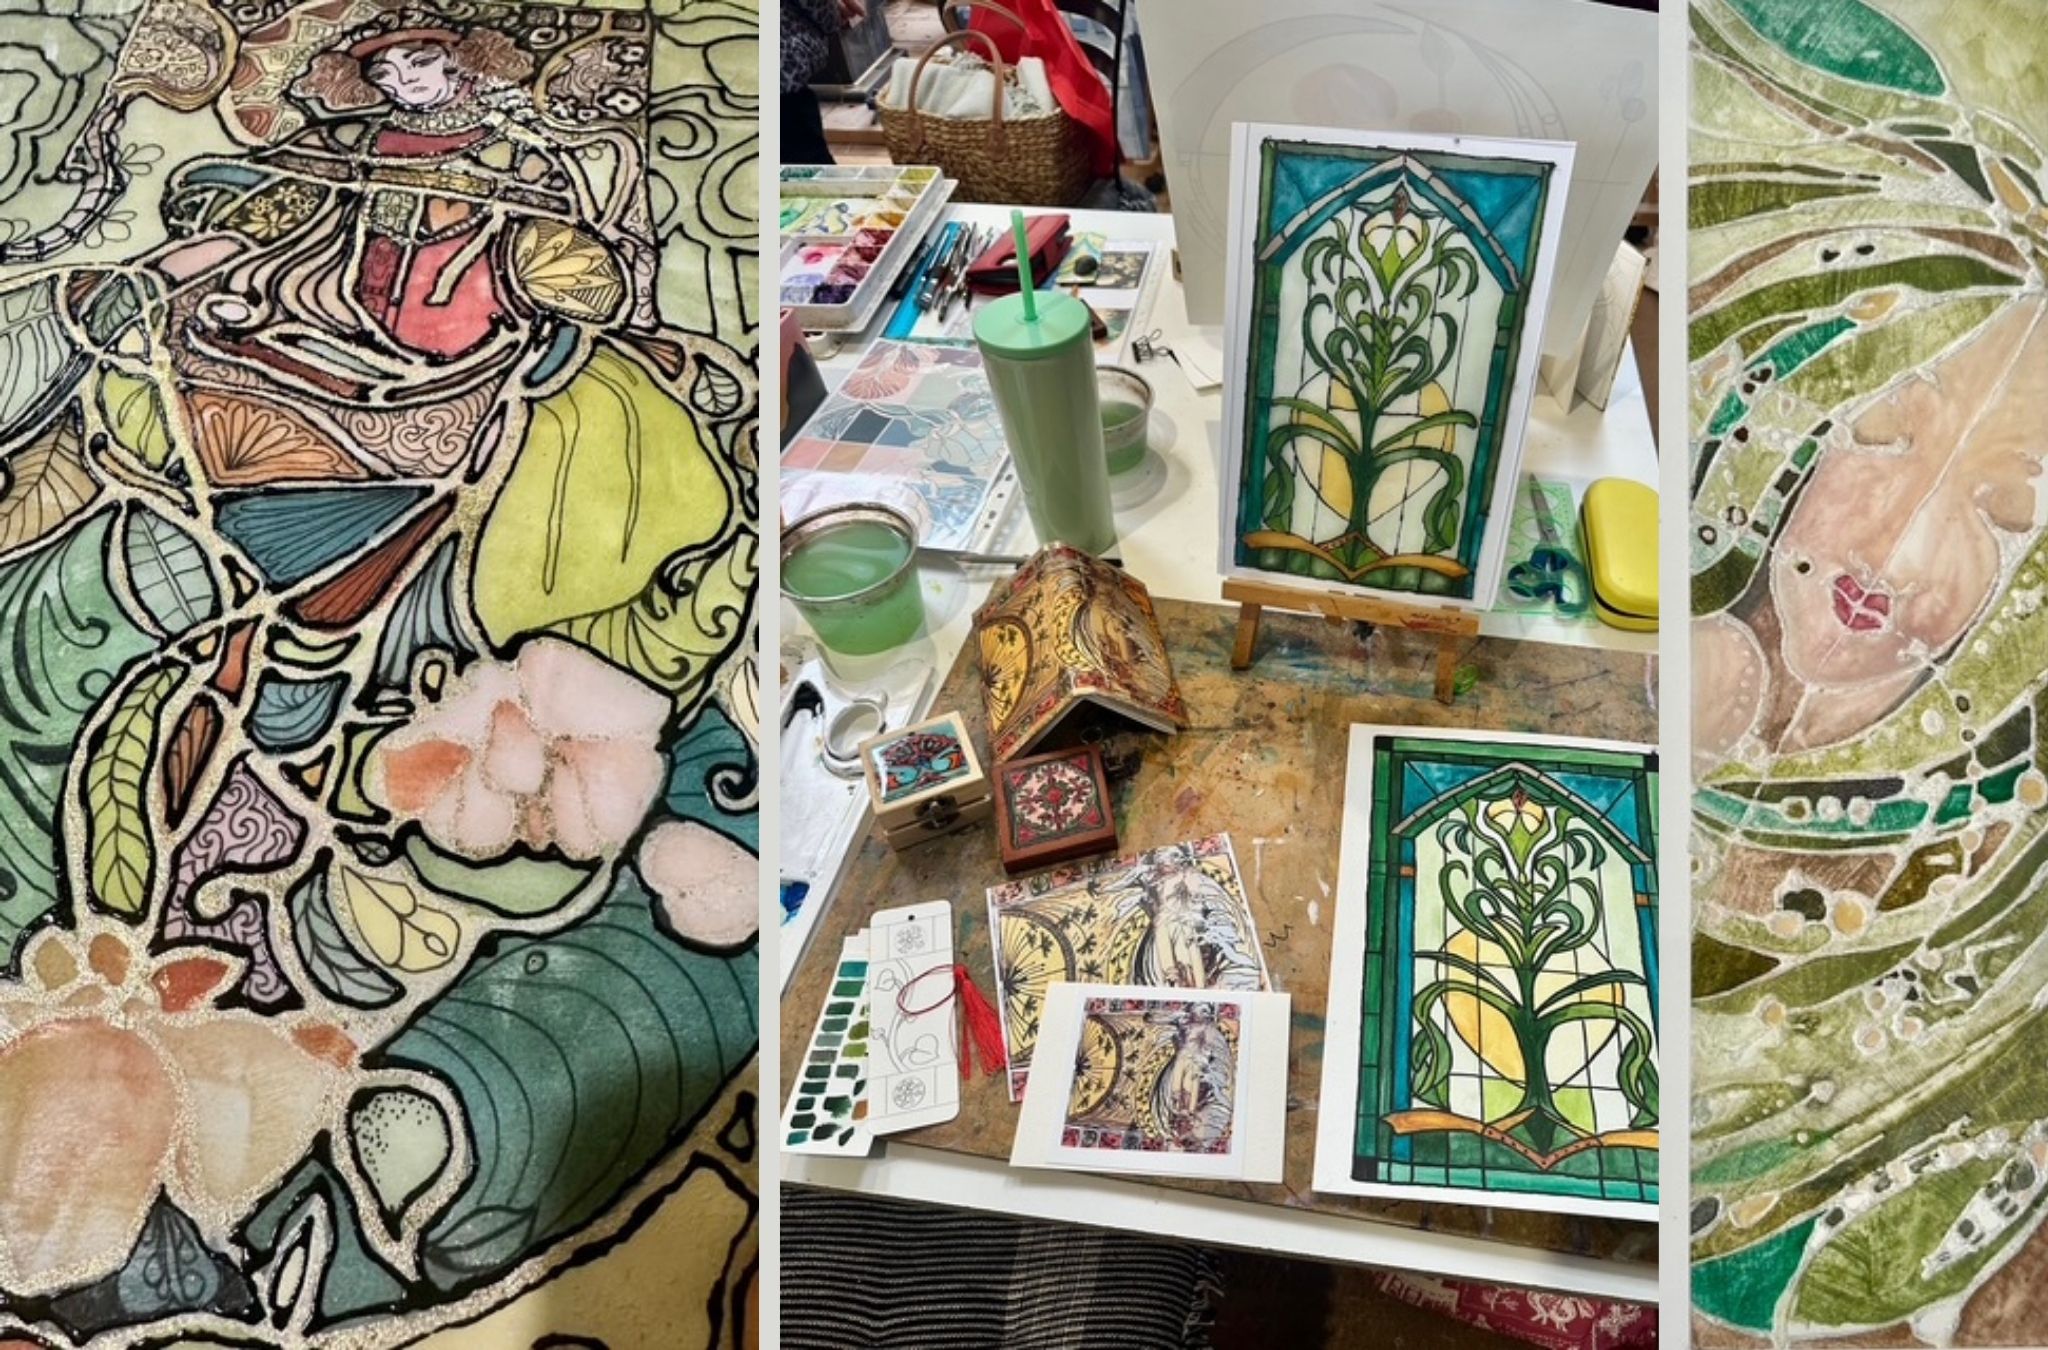
2. While the ground is curing, explore your composition ideas further. My Australian Flora project is a series of stylized native flora, created as a triptych to be displayed together. The magic of watercolor works beautifully on the gold ground, leaving a soft luster effect for the finished painting. Play with your colors on paper first to get a better understanding how they merge wet on wet, and how they glaze and/or granulate. Watercolor on ground takes longer to dry than it does on paper, so allow yourself plenty of drying time between dry and wet areas. Painting on ground is well-suited for the technique of lifting color with a clean, damp brush to remove paint from certain areas, like the veins of leaves or other details, to bring out the light and shimmer of the gold ground underneath.
The colors I used for the leaves and flowers are Kingman Green Turquoise Genuine, Green Apatite Genuine, Diopside Genuine, Hansa Yellow Light, Sap Green, Olive (created with a mixture of Neutral Tint and Quinacridone Gold) and Quinacridone Red for the stems.

3. When your leaf and flower components are completely dry, you can start creating the interesting dark mottled background – I used Shadow Violet. The granulating effects offer interesting textural style and create cloudy, stylized areas where the gold ground can peek through. Continue to complete the background and let it dry thoroughly. Remember that the colors dry lighter than they appear when wet.

Continue your multi panel project using the same techniques to create an interesting triptych. Remember to let each layer dry completely between the detailed overlay or glazing brush work.


4. When each panel was completed, I applied a protective finish with a cold wax varnish. This product can be applied to a variety of surfaces, including watercolor, for a sealed finish that can be polished with a soft cloth to enhance the matte effect.
5. The work was completed with a glamorous gold foil wrap (gold leafing) on the edges. Carefully spread a thin layer of the gilding size medium on each edge of the board and let it dry. It will be slightly sticky so the gold foil will adhere. Using a soft, clean brush, gently fold the gold foil around the edges one at a time.