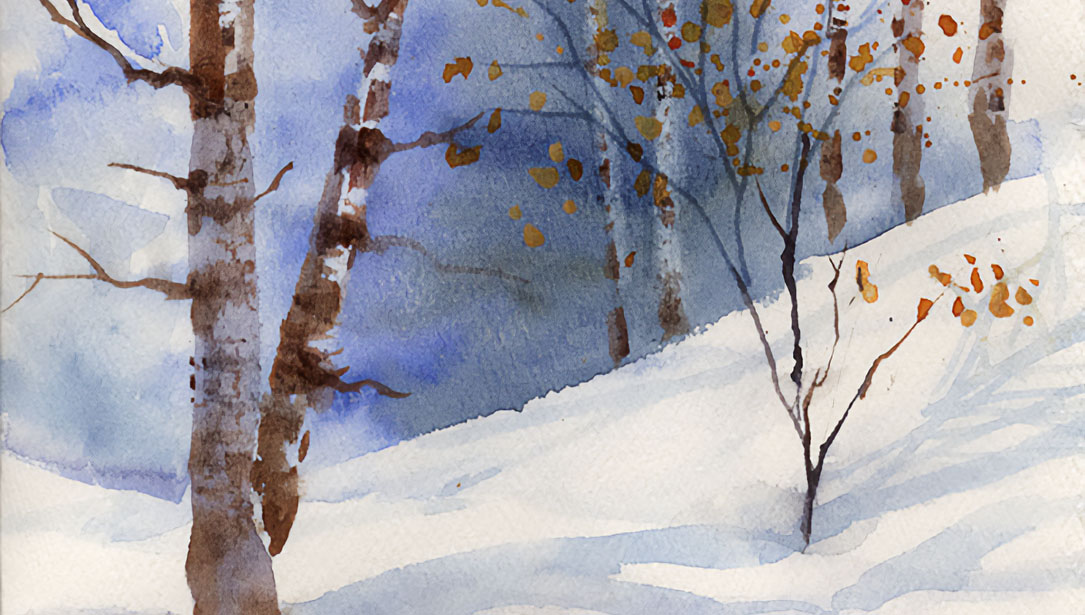
Use these watercolor tips and techniques to create a variety of small winter landscapes. Start by setting up an assembly line with several small panels or watercolor cards ready for painting. As you paint, you will get more ideas on what you can add to jazz them up and make them interesting. Many of my cards have a large area reserved for writing special greetings in the foreground at the bottom of the card. Interesting elements like an icy stream or a fallen tree can be added to the bottom of your cards to make each one unique and different.
Step 1: Wet the top portion of the card down to where you want the snow line to be. A slight angle in either direction will be more interesting than straight across. Some watercolor cards won’t take a lot of water, so test to see just how much moisture your particular panel can hold.
Step 2: Drop color into the wet area. Use your brush to push the paint around to form tree shapes. Vary the intensity of your paint to add depth and to help give more contrast when you scrape out the white bark in the following steps.
Step 3: While the card is still shiny wet, you can scratch twigs or small branches in the wet area with a round-point stylus like a toothpick or an empty ballpoint pen. The scratch you make will depress the paper slightly so the paint will sink into the scratch, leaving a darker mark.

Verditer Blue is wonderful for winter scenes – try adding a touch of Quinacridone Violet to warm it a little. Quinacridone Violet is also perfect when used on birch trees and will help tie your painting together.
Step 4: Allow your card to dry slightly, until the shine is almost gone but it is still damp. Create those white tree trunks by gently scraping the paint from the cards surface. In this example, I used a plastic credit card. Some watercolor brush handles have a slanted end that works great for scraping. This may take some practice – too much pressure will ruin your card and too little pressure won’t pick up the paint. Wipe off the paint you pick up between scrapes. If you time it right, you can even scrape out a few tiny twigs too!
Step 5: Allow your card to dry completely.
Step 6: Add some details to the white trees, such as darker bark, more branches, and some darker evergreens behind the white tree trunks for more contrast. Picking up some thicker paint on the short end of your credit card then dragging it over the white scrapes will create a nice bark look. You may need to rough up the edge of your card with an emery board or piece of sandpaper if it gives you a bold line instead of random splotches.

Step 7: Even if you plan to add a greeting to your card, shadows in the snow will add drama and interest to the empty snow area in the foreground. Soften the edges to give a soft, contoured look to your foreground snow.
Step 8: Now it’s time to sign your card! I use several tools for making my signature, depending on where I decide to write my name. Many times I use a small brush with a good point to paint a stylized signature. For most of my cards I use a stylus to make an imprint while the card is wet during the painting process. This is similar to scratching in those tiny twigs in step 3 above.
If your card is dry, you can dampen it with clear water and add color to make your signature scratch show. Be sure to apply the clear water well beyond the painted area so it blends in and doesn’t leave a hard edge if you blot it away. I also like the look of archival metallic gel pens when I want to sign my name in dark paint. Permanent markers will bleed through my card, so I try to avoid those. Another choice I’ve used is a very sharp watercolor pencil in a hue that blends in with the other colors I’ve used for painting my card.


