Share:
I think it’s important to have a calm, tidy place to paint. I love to have flowers I’ve picked on my morning walk on my desk, alongside a cup of tea. These two things make me happy and ready to create! Remember, your job is to be the watcher as well as the painter; to enjoy each step from the very first touch of paint onto wet paper, to the very last glint of white to the eyes.

The best painting can only come from something that inspires you. Often working on pet commissions, I’m used to working from photographs – they must be able to evoke emotion within me, be it the line of a neck or the look in an eye, there has to be a spark!

Jane Davies’ own spaniel – the reference photo
The subject I’ve chosen to share with you is very dear to my own heart: my little spaniel. She is loving, eager to please and fills my heart with joy. Something I like to tell my students is that you need to be a fairy in big boots! By which I mean, be bold of heart and light of touch.

Stage 1: Personally I always like to start with the ears. Slightly tilting my board, I wet the entire area of the ear, which I will usually have sketched out in advance. Then comes the colour, often several at the same time! Here I boldly apply Italian Burnt Sienna, Burnt Tiger’s Eye Genuine, Sodalite Genuine, Lunar Earth and Ultramarine Violet, allowing them to flow to the bottom in their own time. I used just a hint of Aussie Red Gold on her outer ear.

Stage 2: Once the ears have dried, I set my board flat again, then apply water to the coloured parts of the head and nose, leaving the eyes unwetted. With my big boots still on, I use Lunar Earth and Italian Burnt Sienna, again watching as they blend. As the paper begins to dry I add Sepia and hints of Ultramarine Violet to the areas I want darker.

Stage 3: Moving onto her body, I tilt the board slightly and added a generous amount of water. I add Sodalite Genuine, Ultramarine Violet and Burnt Tiger’s Eye Genuine just under her chin. I watch and tweak as the colours slowly make their way down the body.

Stage 4: I lay my board flat again, adding water to the whole head excluding the ears and chin. Allowing colour from the head to blend into the white areas will soften those hard lines. Using Lunar Earth and Burnt Tiger’s Eye Genuine, I paint the spots on her nose ensuring the paper is not too wet to avoid excess spreading. I continue to build up the darker areas with Sepia and Raw Umber Violet particularly around the all-important eye area.

Stage 5: I want a nice crisp line to make her mouth stand out so I make sure the head is dry before continuing to work on the chin/mouth area.

Stage 6: It’s all in the eyes! I simply wet the area and drop Italian Burnt Sienna and Serpentine Genuine onto the paper, allowing them to merge, then pop a little Sodalite Genuine just under the eyelid. A good tip to remember is there’s always a slight shadow at the top of the eye. Watching carefully is key here, to allow any tweaking necessary while the colour dries. I like to take out a touch of colour on the lower section to give light and life to the eye.

Stage 7: Now to being the fairy. Wetting the whole painting, apart from the eyes, now creates a lovely softness as all the separate areas join up. Any hard lines blend without me having to do anything! While the painting is wet, I look to see where I need more contrast, then add colour or carefully take it out, tweaking and taking the time to observe and enjoy. Repeating this process several times gives depth to the painting. Another tip is to take a photo of your work occasionally. It’s useful to see your painting in a different way and often helps me see areas that need attention.

The Spaniel by Jane Davies
Stage 8:Once dry, I add a few wisps of chest and ear hair, being very careful not to get too carried away. Then onto my favourite bit… adding the catchlight, with a bit of white gouache, to her eyes to bring her to life and she is all done!
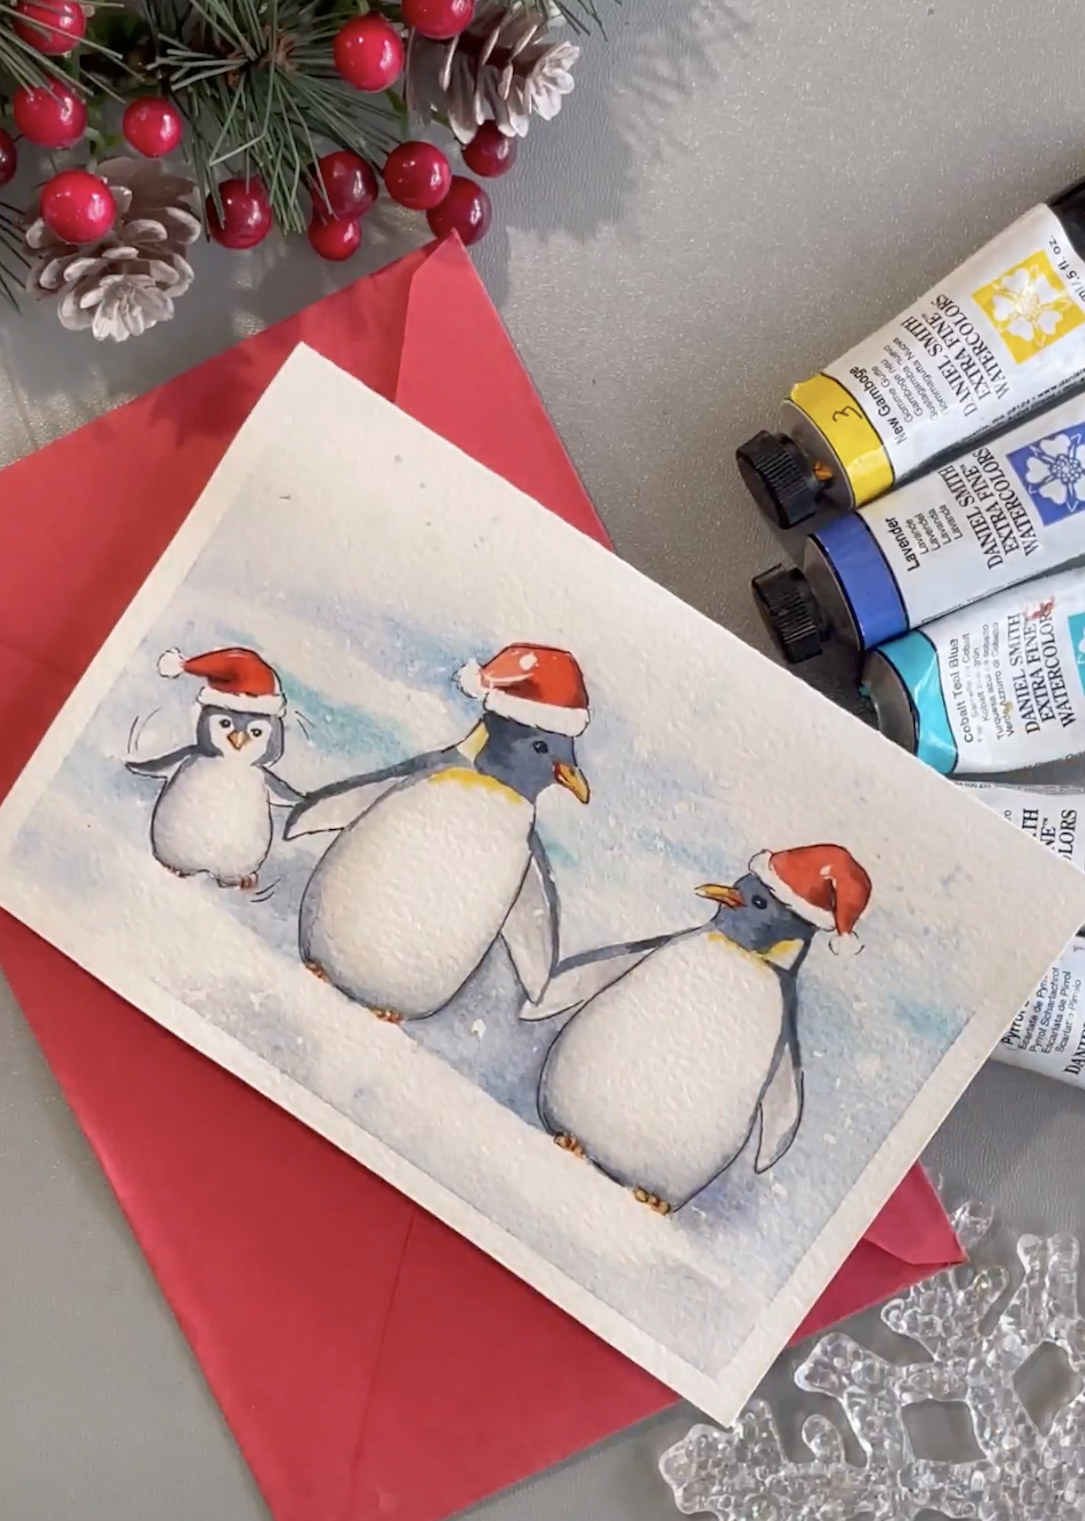
I am in love with DANIEL SMITH watercolors… I confess. Initially intrigued by their 238 Watercolor Dot Card whilst shopping online, once I discovered DANIEL SMITH’s wonderful colours and the granulation of their paints, I was hooked! I saw my paintings improve overnight as these paints worked their magic. Each colour has its unique character and ability to interplay with others, a new adventure in every tube.
My favourite DANIEL SMITH colours are:
- Burnt Tiger’s Eye Genuine for its granulation and movement across the paper.
- Sodalite Genuine for its incredible strength and unusual patterning.
- Raw Umber Violet has amazing richness and warmth.
- Lunar Earth, well, what a paint; its texture and astonishing granulation are like no other I’ve come across!

My palette for this painting: