Step 1 – Sketch for “Hillside Refuge”
Step 1: As always, the first step is the idea – in this case, a simple concept drawing in my sketchbook.

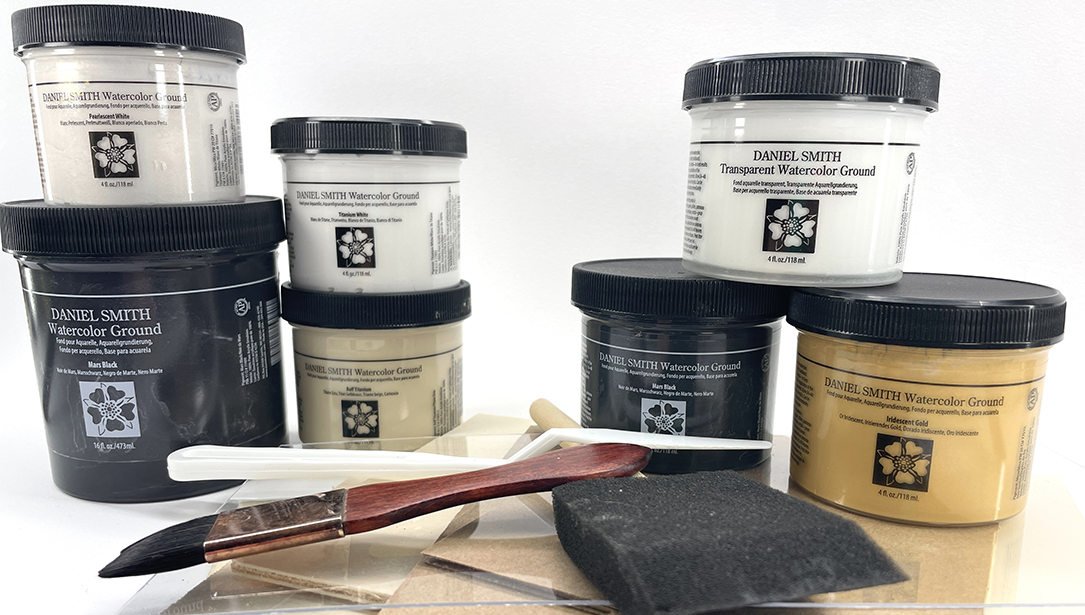
Step 2 – Painting DANIEL SMITH Titanium White Watercolor Ground onto wood panel.
Step 2: Prime a wood panel with DANIEL SMITH Watercolor Ground in Titanium White I like to have a number of panels pre-primed in my favorite sizes so that I can get started right away. This piece is on an 8×8 cradled panel. Drying time for one layer is about 24 hours. I usually do 2 layers and then sand it smooth for more of a hot press paper feel.

Step 3 – First pass with watercolor.
Step 3: When I put down the first pass of paint, I usually cover as much of the piece as possible in order to get rid of the intimidating white areas and to get a good feel for my colors and values as a whole. As with watercolor on paper, the colors are much more intense going down wet, so be brave and go bolder than you think!

Step 4 – Beginning to build watercolor layers.
Step 4: When the first layer is dry, the colors have faded considerably, and I have a good foundation. Here I begin to build my layers, mostly very wet on dry, adding variation to the greens in the tree and foreground. Also adding plenty of colors to the sky and clouds – yes, there are purples, reds and yellows in both!
This is where I establish my core colors, which I complement as I layer with accent colors. (see next step for more on the accent colors)
- In the sky: Ultramarine Blue and Phthalo Blue GS with hints of Cadmium Red Medium Hue and Cadmium Yellow Medium Hue.
- The greens: Payne’s Gray with Quinacridone Gold in varying ratios.
- The gray blue distant hill: Payne’s Gray and Ultramarine Blue.

Step 5 – Adding darker values.
Step 5: Now I begin to tackle the darker values and mature my colors with accent colors. I punch in some crisp darks to define the cows against the blue background mountain early on so I can keep track of where my darkest darks are headed. From this point on, every layer will be values and colors that answer to each other and keep the eye bouncing around the piece, eventually settling under the tree to rest with the cows.
- Accent colors: Quinacridone Burnt Orange to warm up the greens. I also add it to the purples below to make my browns for the tree twigs and cows.
- The purples: Ultramarine Blue or Payne’s Gray with Cadmium Red Medium Hue make a muted purple. More red for warmth. More blue for cool tones.
- Cool blue grays: Payne’s Gray and Ultramarine Blue.

Step 6 (close up) – Details added last.
Step 6 (closeup): The bare twigs on the tree come last, however tempting it is to jump the gun – and yes, they are definitely the most fun part 😉 I use a no. 2 round brush with plenty of bounce or a rigger brush.

“Hillside Refuge” by Sarah Graham
Finished Painting: “Hillside Refuge”. Finally, all the darks and middle values are in, and the warm and cool colors are well balanced. Each part of the painting is treated with the same numerous delicate layers, regardless of its “importance” to the piece, because every part needs to belong to the others. Deep shadows in the foreground provide a natural border that hems in the serene nature of the scene.

Step 7 – After adding a protective coating the painting is ready for hanging in gallery.
Step 7: Apply a protective coating and display with or without a frame. I have tried various varnishes and coatings, and I am still feeling out what I like best, so take the following with a grain of salt and add your own flair to it. Basically, it comes down to a matter of preference. I like for my varnish to give my paintings a strong finished presence. For this look, I have found either a) several generous layers of cold wax or b) a brush on satin varnish over a glossy spray isolation coat work best. Both of these methods are represented in the gallery pictures above and below. This is a relatively new and evolving field, so experimenting is probably the best way to find what works for you. Just keep in mind that competitive shows have varying rules regarding acceptable varnishes for watercolor pieces, so do your homework if you plan to compete with your varnished pieces 🙂
Happy painting!