I have always been drawn to the look of traditional Batik. This ancient art form uses a wax-resist technique on cloth. However through experimentation, I discovered that this method lent itself beautifully to my paintings with just a few simple changes.
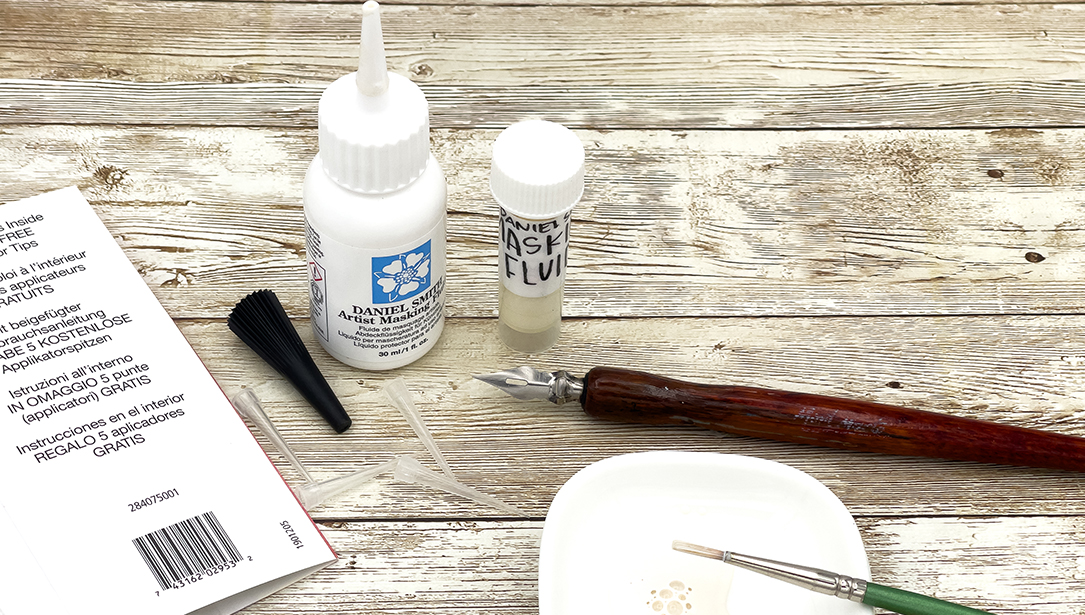
In my “watercolor batiks,” traditional cloth is replaced with watercolor paper, wax is replaced with a masking agent like DANIEL SMITH Masking Fluid, and dyes are replaced with tube watercolors. Transparent washes of color, with additional layers of masking fluid applied between washes, create vibrant batik effects. The finished work can be as varied as your imagination will allow, from photo realism to non-representational paintings.
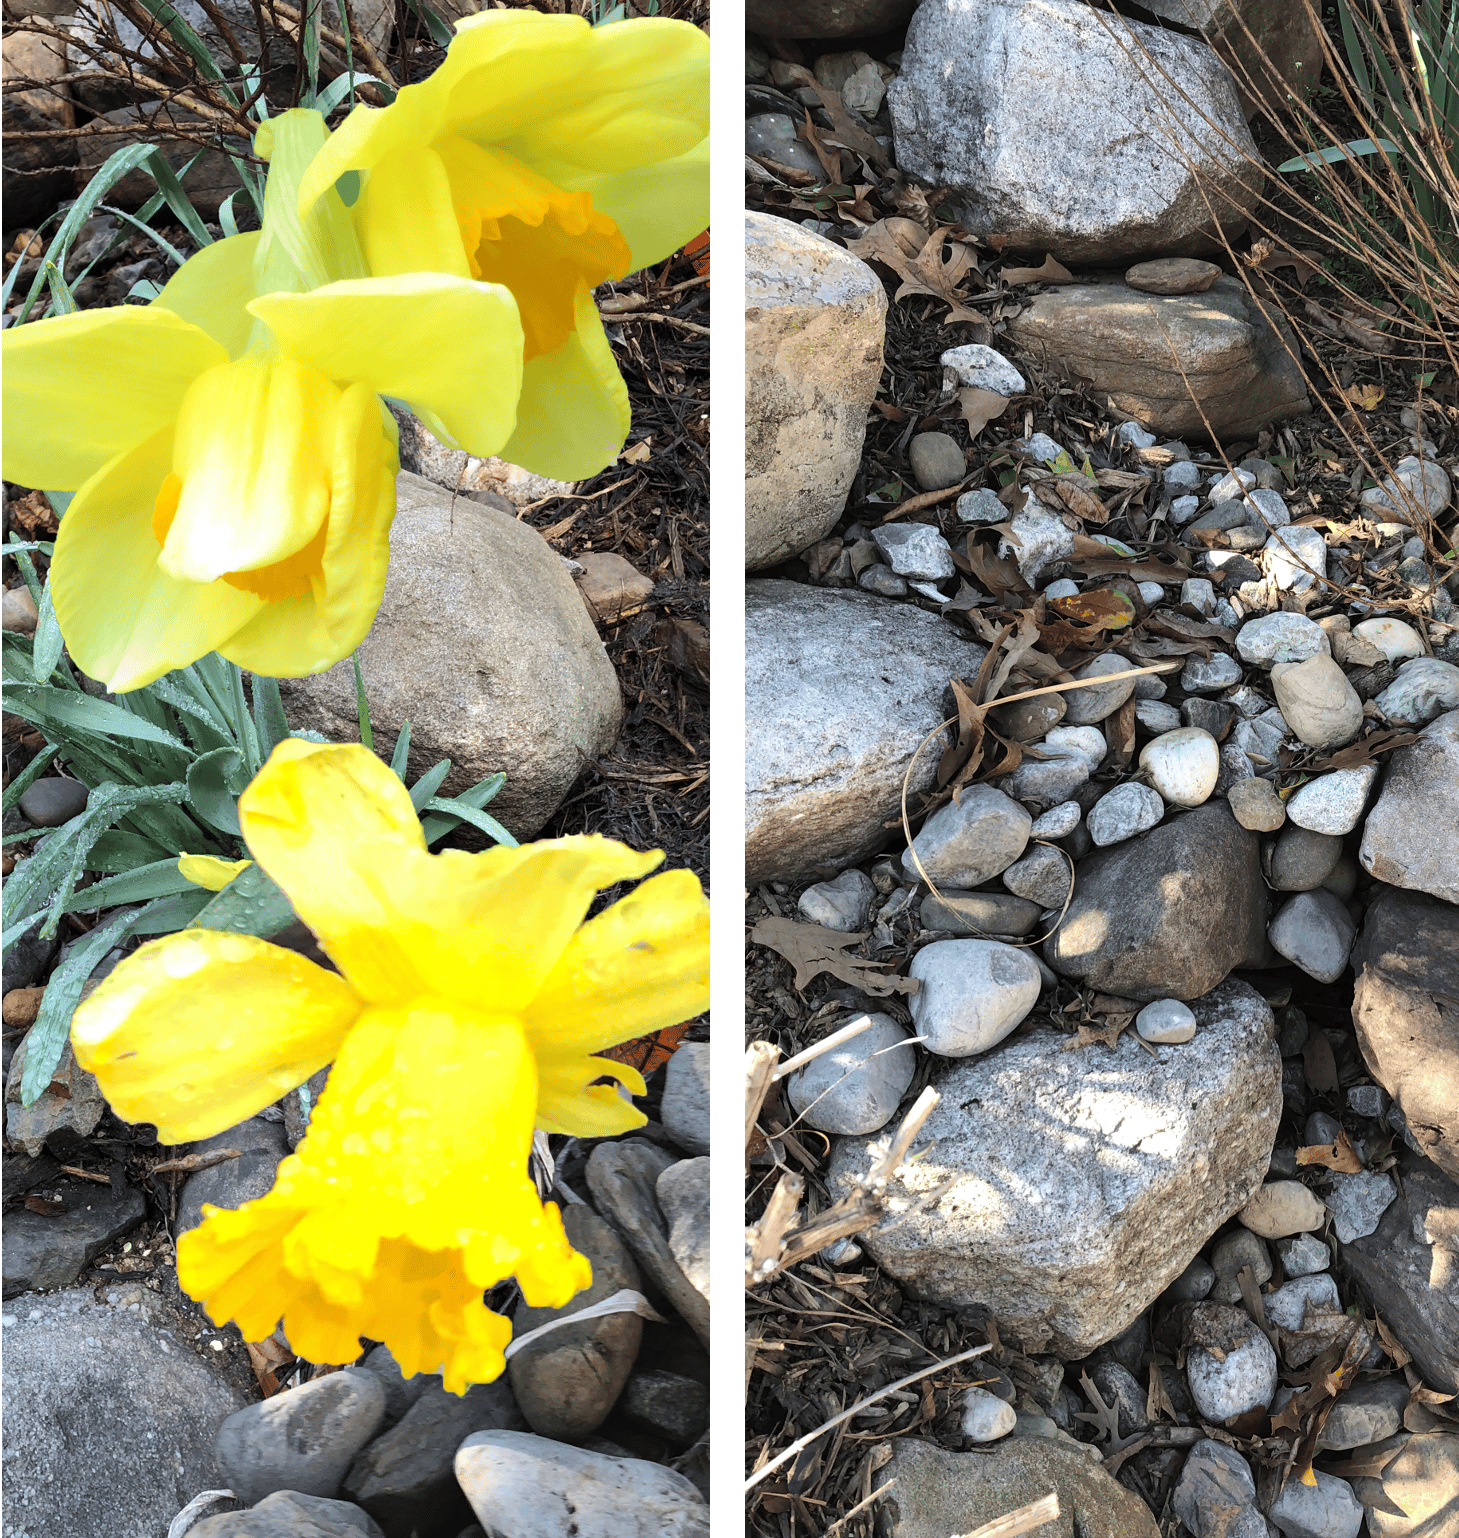
I often combine images in photo editing software to create my desired composition. For example, the composition for this painting, Daffodils, was created using a close-up image of daffodils and a rather distant image of rocks. When satisfied with the composition, I use a simple grid to transfer the image to watercolor paper. I sometimes project the image for my very large paintings to save time.

The first application of masking fluid on white paper is critical. It establishes the whites and lights in the final painting, but it also sets the path for the viewer’s eye to follow. The human eye tends to connect the points of light in a painting.
In this painting, I applied it to the edges of some of the petals, a few rocks, and leaves. I also splattered it to create unexpected white drips and dots that add a random effect to the painting. Remember that any areas that may appear too white later can be painted to tone them down or make them invisible.
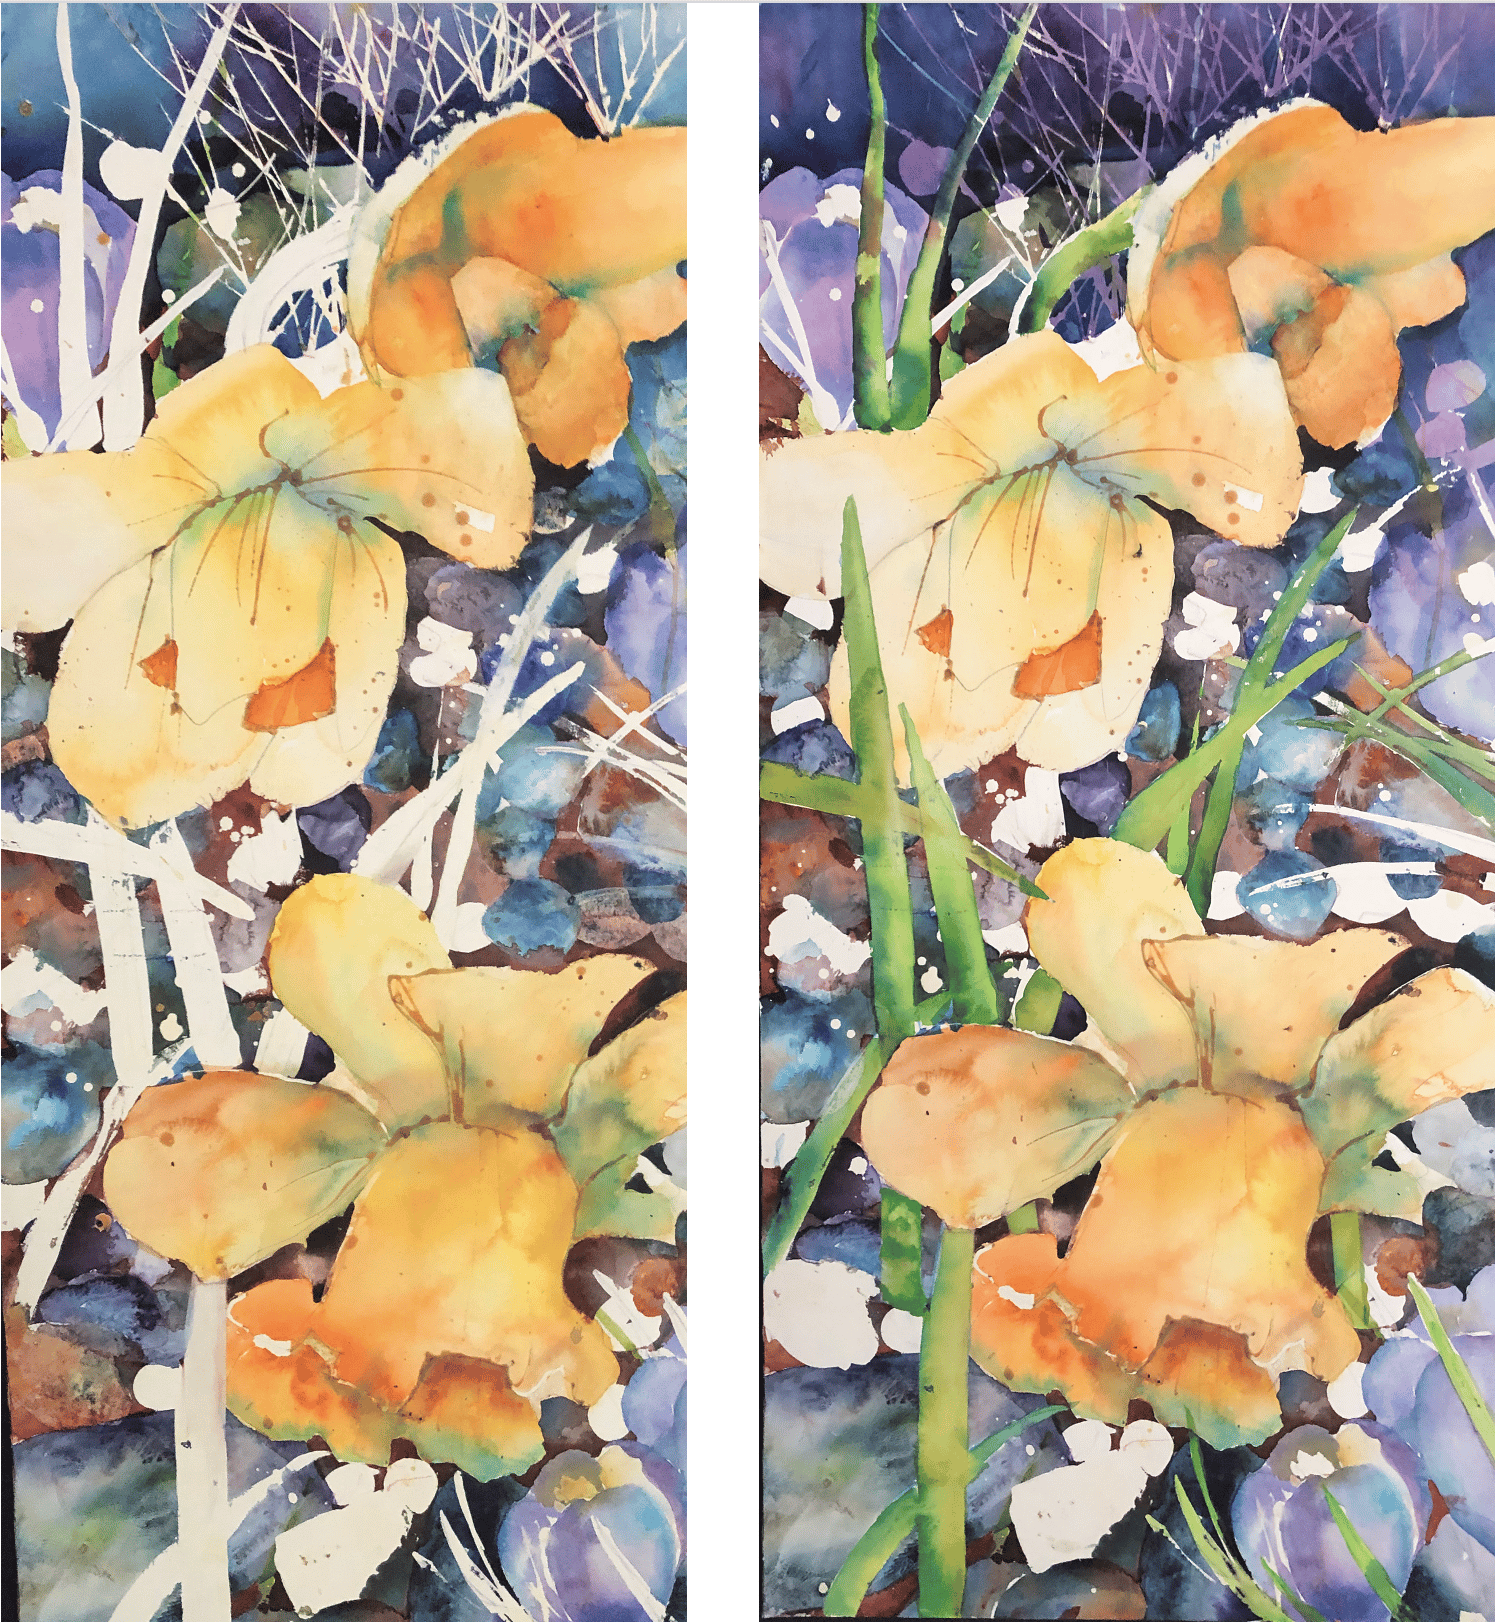
After the masking is dry, I begin painting. I work in small areas, using a wet into wet application, mixing the color on the wet paper. In the photos above, I have just begun to paint the daffodils and crocus. The flowers are flooded with water, and the colors mingle on the page. It is important to remember that the masking does not have to be applied to white paper, it can also be applied to a previously painted area.

I wait for the paint to dry before adding a second layer of masking fluid. The second application preserves areas of color rather than the white of the paper. My finished paintings often have four or five applications of masking and an equal number of glazed layers. This “back and forth” of applying more masking and more paint is what gives my work its distinctive look.

Using a rubber cement pick-up, I remove the dried masking fluid. Don’t be shocked by the stark white of the revealed paper. Remember, you now have the option of filling in those white places with any appropriate color – like the greens I added for the long thin leaves below. Depending on what stage of the painting the masking was applied is what determines the color that will be revealed when the masking is removed.
After all the masking is removed, I carefully integrate the once-white areas into the painting. This part of the process is essential. Fine-tuning values and colors are critical, but be careful not to overwork the painting. The marks you are making should add to the overall aesthetic experience. It is often easy to keep poking at a painting until you have destroyed its spontaneity. Instead, ask yourself, “Are the marks I am making giving the viewer any more critical information about the painting?” If not, then stop!
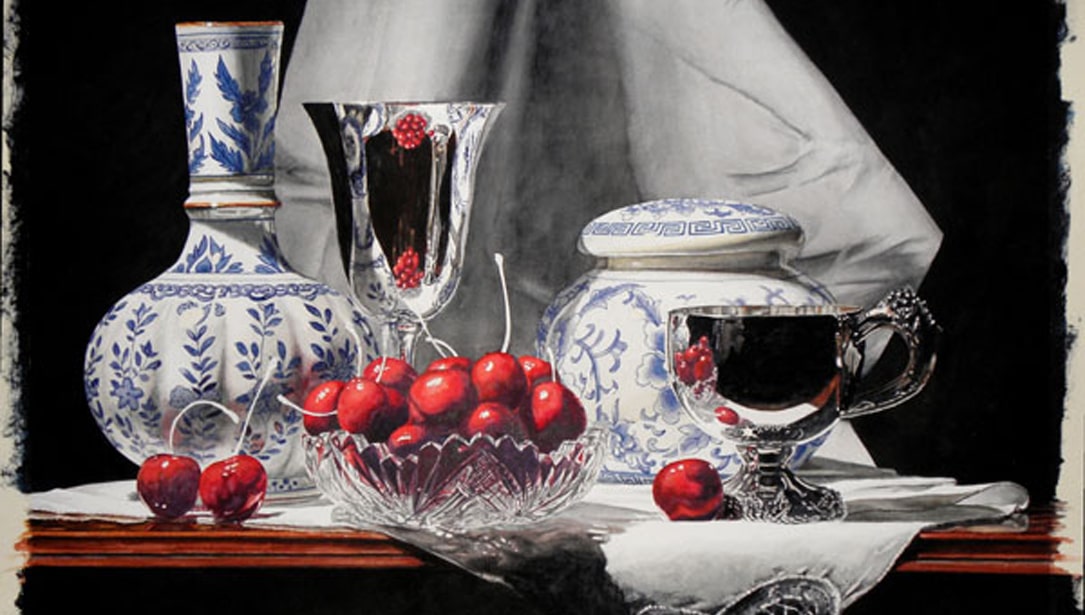
This technique achieves an unsurpassed richness and depth of color. My background in botany and biology often leads me to subjects of nature, but this technique works equally well with still life and landscapes. I am sure you will find experimenting with this new approach exciting and rewarding.

Daffodils by David R. Daniels (48×22″)