If you’ve always wanted to try watercolor painting, a great place to start is with DANIEL SMITH Dot Cards. You can experiment with a small amount of dozens of different colors. Use the tips and tools below to try your hand at watercolor – you’re going to love it!
We have organized this post into four parts:
- Downloadable PDF images
- How to transfer images to watercolor paper
- Suggested supply list
- Watercolor properties
- Watercolor painting techniques

Downloadable PDF images
Choose from 4 different sets of outline images to click, download, print and practice painting with watercolors – without having to draw something yourself.
- Spring: Cherry Blossom, Blue Bird, African Violet, English Rose
- Floral: Peony, Crocus, Pink Orchid, Amaryllis
- Garden: Gerbera Daisy, Daffodil, Marigold, Tulip
- Country: Rooster, Lilac, Thistle, Sunflower

How to transfer images onto watercolor paper
Place a sheet of graphite paper (graphite side down) onto the watercolor paper, then place the printed copy of your image over the graphite paper on the area where you want to paint. Firmly hold the papers in place and trace the lines of the image with a blue ballpoint pen (blue makes it easier to see where you have traced). Trace one small section at a time and lift up a corner to see if the image is coming out clearly. If not, retrace and try more pressure. Remove any unwanted marks from the watercolor paper with a white eraser.
You can also trace the image with a pencil on to a sheet of non-stick baking parchment, then flip the parchment over (pencil side down) on to the watercolor paper. Keep in mind this process reverses the image. Hold the parchment firmly in place and use the edge of a coin or credit card to rub across the image, releasing the pencil lines on to the watercolor paper.
A third option is to use a light box or a sunny window to trace your image directly on to the watercolor paper (300# paper is too thick for this method). Hold your image against your light box (or a window on a sunny day) then place your watercolor paper over it. You should be able to see the lines through the watercolor paper – if not, darken the lines on your print-out first with a black marker and then trace the image lightly with a pencil.
Before removing the watercolor paper over the line art, check to make sure you traced over all the lines by lifting up each corner in turn while holding the rest of the watercolor paper firmly down. If you have missed a line or two, trace over those areas until you have traced out the entire line art image.
Suggested supply list
- DANIEL SMITH Extra Fine Watercolors – Dot Card Set or a Half Pan Set
Professional watercolors made with high-quality pigments and no fillers are a joy to paint with – you’ll get the best results which is so rewarding. Lower quality watercolors are made with fillers and cheaper pigments, which make the colors more dull and more difficult to use. - Watercolor paper – Paper designated for watercolor has surface sizing to prevent watercolor paper from sinking into the paper, making colors dull. The sizing also helps the paper hold up to water-based techniques. Most drawing or sketching papers will feather away, dissolve or buckle, which causes the watercolor to puddle up. Watercolor paper is labeled by weight and surface texture. The best general purpose weight is 140lb. Lighter 90lb paper is less expensive, but it can buckle. 300lb paper is more expensive, but very heavy weight and the least likely to buckle. Surface textures available in watercolor paper are cold press (the most popular), which is rougher and hot press, which is smoother.
- Watercolor brush – Good quality brushes can be either natural hair or synthetic, but they need to be designated for watercolor, meaning they are designed to be flexible and hold water (oil and acrylic brushes are too stiff). A good quality watercolor brush will hold its shape better and offer you better control than a cheap brush, making your experience much more enjoyable. Brushes come in different shapes – round, flat, tapered, etc. Choose a round watercolor brush in either a size 6 or 8. You can use the pointed tip for lines and details, or the entire brush for broader strokes (the more pressure you give, the broader the stroke), and the side of the brush can work for washes.
- Water containers – Any type of cup or jar is fine, as long as it’s not easily tipped over. Try recycled empty yogurt tubs or look for wide water glasses at the thrift store. You will want two containers of similar size – one for dirty paint water (first rinse of your brush), and the other for cleaner water (second rinse). Refill your containers with fresh water when they start to get too dirty. Keep your water containers on the same side as your painting hand so you don’t drip water onto your painting. Keep your beverage on the OTHER side so you don’t mistakenly rinse your brush off in your coffee!
- Palette or plate – You need a flat surface for adding water to liquify, blend and/or lighten colors before painting with them. Use a white ceramic or plastic tray or plate or buy a palette with paint wells for keeping colors separate. When you are done, allow your watercolor paint to dry on your palette, because it can be re-wet and used again!
- Paper towels or small sponge – Use for blotting extra water off your brush after rinsing it, when changing to another color or to remove excess color. Keep the sponge or towels right beside your water container.
- Pencil and eraser – It is perfectly acceptable for your initial pencil sketch lines to show in your painting. Just keep the pencil lines very light as you draw or trace, so they are unobtrusive. Try using an H (hard) grade pencil for light lines, because regular #2 pencils can be too dark. Use a soft, white plastic eraser to remove unwanted pencil marks. The pink eraser on the end of a pencil tends to smudge on watercolor paper instead of erasing cleanly.
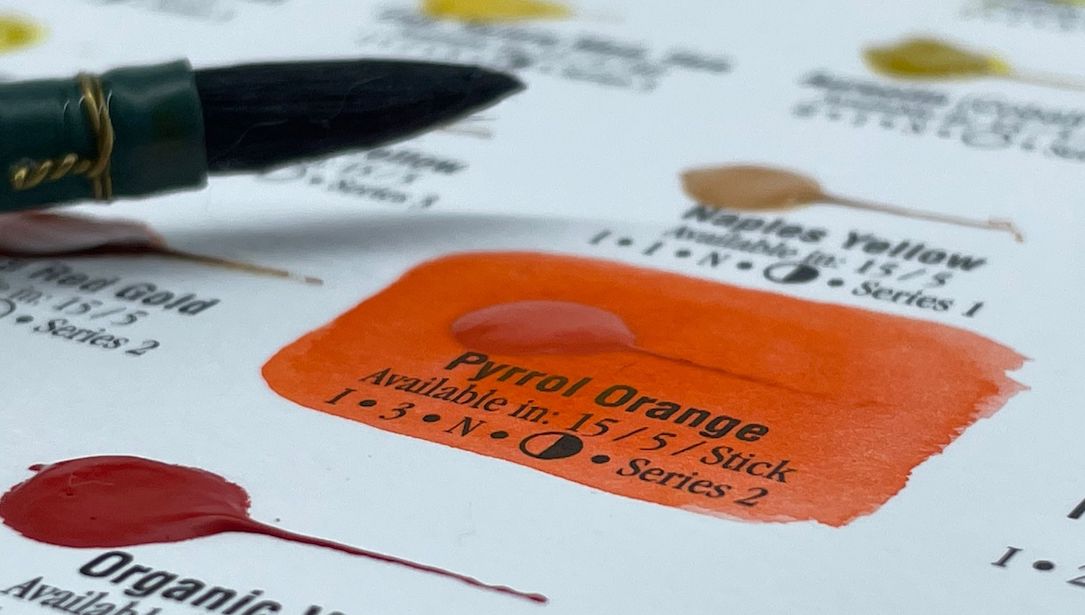
Watercolor properties
Watercolor paints have four basic properties – transparency, granulation, staining and lightfastness. Understanding these properties helps you to know what effects and techniques you can use for different effects. You’ll find these properties listed for each color in our Color Stories or watercolor brochure.
- Transparency is how much the whiteness of the paper can shine through, allowing the paint color to appear to glow. Watercolors can be transparent, semi-transparent, or opaque depending on the pigments used to make them. Transparent watercolors are also very beautiful when glazed over other dry colors.
- Granulation is a special, almost magical property present in some watercolors. When granulating watercolors are painted out and the water disperses the pigments, the heavier pigments separate and settle differently, giving wonderfully unpredictable textural effects. Non-granulating watercolors come across more smoothly. This post, Granulating Watercolors: What and Why by Jane Blundell is a great resource.
- Staining or non-staining refers to whether or not the color will leave a stain on the paper when you try to remove it. When you lift (remove) some of the color with a wet brush, then blot the area with the brush or a paper towel, staining colors will leave behind some residual color, but non-staining colors will not.
- Lightfastness is how long a color will resist fading over time in normal lighting conditions. Nearly all of the DANIEL SMITH watercolors have an Excellent or Very Good lightfastness rating. None are Fair, and only two are considered Fugitive:
I = Excellent (100+ years)
II = Very Good (100 years)
III = Fair (50 – 70 years)
IV = Fugitive (15 – 20 years)
Watercolor painting techniques
- Wet on dry – painting watercolor onto dry paper, or an area of dried watercolor, which gives you crisp, hard edges of color.
- Wet on wet – painting watercolor on wet or damp paper, or an area of watercolor that is still wet or damp< giving you soft edges of diffused color. Wet on wet allows the colors to mix and mingle giving you unexpected and often beautiful results!
- Washes – read Carmen Gardner’s article, Four Basic Watercolor Washes by Carmen Gardner to learn more.
- Glazing – a technique of color mixing that is especially luminous with transparent watercolors. After applying some color and allowing it to dry, then brush over that color with a wash of a different (transparent) color.
- Lifting – recover some of the white of the paper or add highlights/dimension by removing some of the color with a wet brush. After re-wetting the paint on the paper with a wet brush, the excess color is removed by blotting the area with a paper towel or a dry brush.
- Water to paint ratio – how you control the intensity of the color. Using less water keeps the color deep and intense, adding more water makes the color lighter and more transparent. Remember that watercolors lighten as they dry.
- Color mixing – work with the lighter color on your palette first and gradually add more of the darker color until you mix the hue you want.
- Color order – because the white of the paper is important (transparent colors show like stained glass over the white of the paper), be sure to begin with your lightest color washes. Then paint over with darker washes as needed to intensify areas of color.
- Reuse old watercolor paper – if what you painted didn’t work out, save that watercolor paper for practicing brushstrokes, color mixing, and watercolor techniques like glazing on the back side.