To begin, here are a few guiding principles to keep in mind when working with watercolor en plein air. The first fifteen minutes of your painting are critical to get the relationships right ~ make a plan and stick to it for the light and shadow patterns, as the light will continue to change when you are painting outdoors ~ don’t try to chase the light or you will never finish!
- Plan to save your whites and lights
- Paint from light to dark and from top to bottom
- Paint the background, then middle ground, then foreground
- Start with broad strokes before moving to the details, using your largest brush for as long as possible
These are not absolute rules and can be adjusted to suit your situation and subject, but these guidelines will get you started and guide you through the process with a plan and a purpose. Planning is particularly critical to plein air work, as there is a limited window of opportunity to work while the painting is active.
1. Be clear about what attracted you to your subject
If you can articulate your focus and what you want to express at this stage, you are way ahead of the game! For example – “I love the way the sun is reflecting golden light on the water.” Write it down next to your painting to remind you.
2. Division of space is how we tell our story
We can make some executive decisions at the very beginning that are important to tell our story. Questions to ask yourself:
- Is this painting more about the earth or the sky?
- Is there a low or high horizon?
- Where is your focal point?
- Where does your light source come from – is it warm or cool light?
- Find your lights and leave them open and save any whites you want for later
3. Look for the four planes of light
- The sky plane is usually the lightest value
- The ground plane is a bit darker
- The slanted plan (think hills) is usually darker again
- The vertical plane (think trees) is almost always the darkest

4. Simplify the scene
How do we simplify the plan when everything looks so complicated? Break everything up into shapes and values. Find your darks by squinting your eyes ~ this effectively blocks out anything that you can’t see through your eyelashes. If you can’t see it when you are squinting, don’t put it in like it’s a detail, even if you know it’s there. It’s tempting, but we must resist that urge to get too specific just yet and focus on massing your darks together in large shapes and values. By chunking your darks together, you can simplify your shapes and link them to create greater impact.

Identify your dark and light shapes and the division of positive versus negative space. This is key to creating the structure for your painting with an appropriate division of space. Vary your shapes so it’s not boring ~ variety is the spice of life and you are the designer here! Create a few interesting shapes and patterns, but not too many or it will not achieve the simplification you are after.
Cross physical boundaries of objects by linking the object to its shadow. Try not to focus on the name of the shape, rather think of it as a dark, a midtone, or a light value. Otherwise your verbal and logical brain will want to take control. Naming it “tree” or “house” prevents you from getting those critical connections and relationships correct in the spatial part of the brain, which makes it more difficult to see the abstract patterns and values.
There are several ways to make this process easier. In the studio, I print both color and black/white versions of my photo to see the differences in value. In the field, I create a thumbnail sketch with just two or three values that will be the map for the territory you are going to paint.

5. View the scene with red lens glasses or your phone’s camera filter
This prevents being confused by color. The red filter knocks out color and you just see values~ making it easier to see the light, mid-tone and dark shapes into which you will break it down to simplify.

If the key to real estate is “location, location, location,” the key to watercolor is “value, value, value.” Most watercolor paintings that are not working have an issue with incorrect values. Make sure you can clearly identify at least 3 tonal values – light, midtone and dark. This might be the most important step to set up your painting for success ~ getting proper shapes and values creates the structure and framework that will hold your painting together. Once you get this right, you can relax into the spontaneity of the delicious flow of the medium, but your planning will make this so much easier!
6. Use the rule of thirds to create a compelling composition by design
Split the scene into 1/3 to 2/3 ratios of dominance. For example – light to dark, warm to cool, active to passive areas, bold to soft texture, sky to earth. The key is not to have two equal halves of anything, because your viewer will be confused by which half is more important. By choosing the rule of thirds, you are telling your viewer what you think is more important. You’re giving a clear message about what you want to communicate with your painting.
7. Design for maximum impact by exaggerating, manipulating and editing
Use these tools to create a pathway for the eye that leads the viewer into and through your work. Check for design flaws in this early stage by viewing through your camera viewfinder to gain objectivity and see if it’s working as a whole.

8. Sketch a loose pencil drawing with a light touch
Hold your pencil loosely to avoid tightening up too quickly. Get the skeleton down so you can add the flesh and bones with watercolor. Do not waste time obsessing about the details at this stage unless it is critical to your design. You can also draw with paint which will remain more fluid and free. Get the main shape structure right and you can worry about the details at the very end. In other words, bake the cake before you frost it!
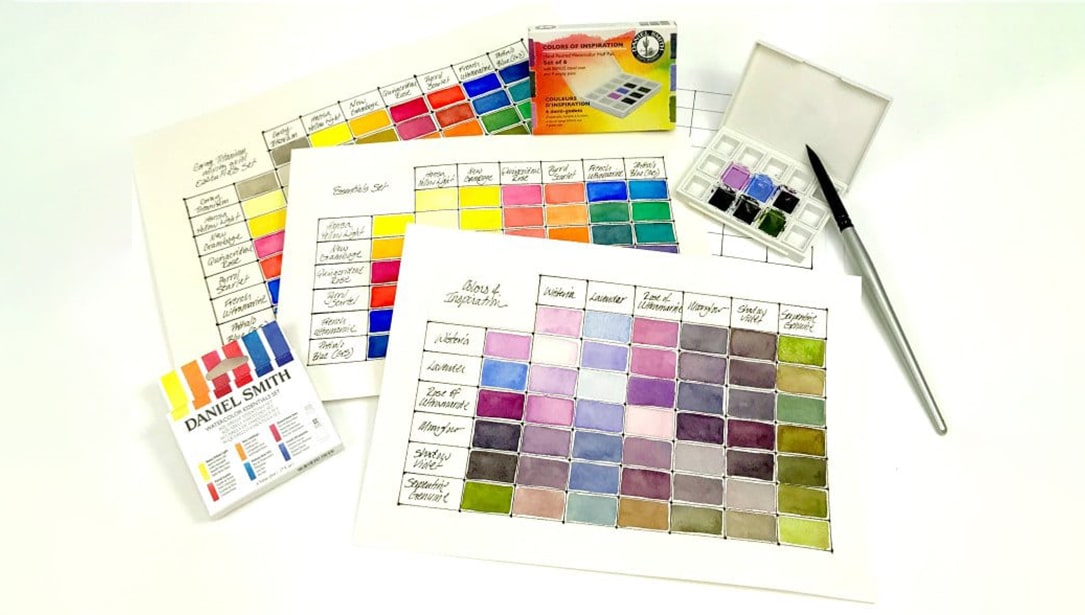
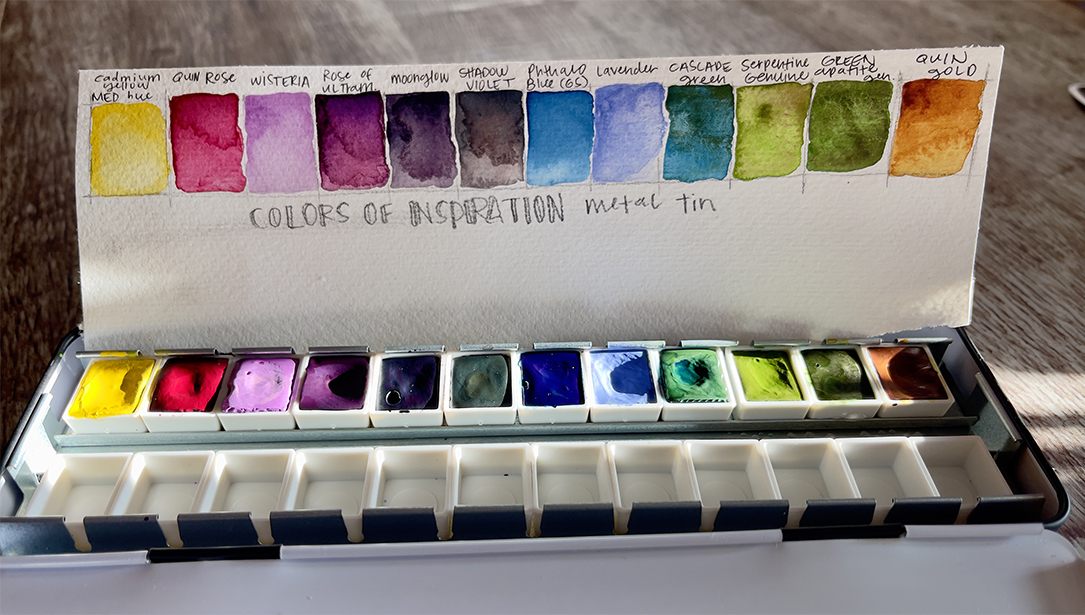
9. Create color harmony
I recommend using a limited palette. As your color knowledge increases, you can add and experiment with more hues. Just remember this important fact – using the same group of colors creates harmony in your painting. The most important thing I recommend is to lay out your colors with warm on one side and cool on the other. That way you will understand the temperature of your mixes and it will be easier to warm up or cool down your painting as needed. Think of warm colors being like the sun with a yellow base and cool colors have a blue base like the ocean.

I like to lay out my colors in a circular palette according to the color wheel, so it very clear which are opposite each other. This teaches you how to mix complementary colors to make harmonious neutrals that make your paintings sing! Another important point is that watercolor generally dries a couple tones lighter than when it is wet, so allow for this and make your darks darker than you think they should be to compensate.
Keep it simple until you understand color mixing more thoroughly. If your values are correct, the colors will work. Like in life, if you get your values right…the rest is easy!
10. Paint from your heart
Express how the scene makes you feel, rather than worrying about technical brilliance. I usually do my paintings in three passes or washes. Build up your washes in layers, with the first pass saving whites and putting in the higher key/lighter values (photos 1 – 2). The second pass establishes form and value (photos 3 – 4).

Photo 1

Photo 2

Photo 3

Photo 4

Photo 5
The third pass is where you can really go to town tweaking and fine-tuning whatever you want. Make those details speak your language and fully express your story! Those calligraphic touches and interesting flourishes lead the viewer to your focal point, leaving them with a clear expression of your idea.
Just remember the overall process:
- Stage 1: Planning, composing and underpainting
- Stage 2: Determining values for structure and mood through color and temperature
- Stage 3: Fine tuning the details to unify the elements and make the focal point the star
Another thing to remember is the importance of consistency with your paint to water ratio. Here is my general rule of thumb – the first wash is coffee or tea consistency with a fair bit of water. Then for the second pass, I use a creamy consistency with less water and more paint (wet on wet gives soft edges). For the final accents, I use paint straight out of the tube (wet on dry gives crisp edges for manmade objects and important details). Loading your brush properly to control the ratio of wet to dry takes a bit of practice, but you can control the amount of water by offloading some of the moisture on to a sponge first. Don’t start with a brush already half-loaded with water after rinsing it, or else you won’t get the consistency you need and you’ll struggle with a lot of cauliflower blooms on your painting!
Some final thoughts…step back from your work often to be sure you are working the painting holistically and not simply with objects in isolation. Work the whole painting so it develops at each stage in a balanced way.
Keep reminding yourself of your original idea and make confident strokes that support that intention. Avoid “cat-licking” strokes that make a muddy mess. Stop before you think you might be finished to reassess and ask good questions to finish it off. Do not overwork your painting. It is better to leave it with a few imperfections that are fresh and expressive than to flog it to death! Trust me on this. I have flogged plenty and they are like ghosts that haunt me under my bed.
And now, the most important tip and most difficult step of all…put the tools down and step away from the painting!

Golden Landscape by Georgia Mansur