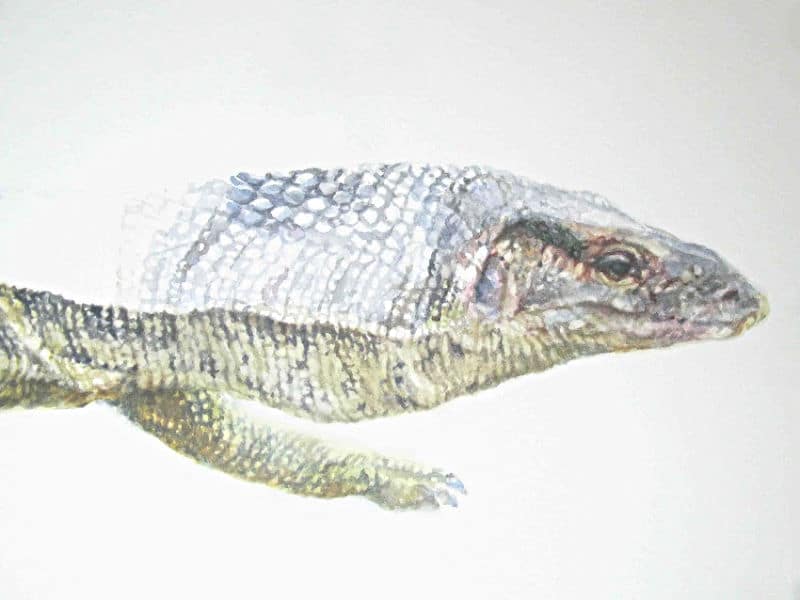
Bayawak is a watercolor painting of a monitor lizard, one of several types that can be found in the Philippines. This local wildlife has been suffering a decline in numbers due to increasing loss of habitat and being hunted for their meat. My motivation for painting the bayawak is to help raise awareness and appreciation for their unique kind of beauty.
Probably kismet that while I was planning for how I would paint this monitor lizard, I was given a chance to try the DANIEL SMITH grays. My usual subjects are flowers and the occasional scenery, so Mmy go-to palette reflects this inclination towards brighter color. However for the monitor lizard, I needed subdued colors. The grays consisting mostly of neutrals seemed perfect.

Step 1: Layout and drawing
I had several options for positioning the subject. One was stretched out, emphasizing the length of the lizard, which was over a meter long from snout to tail. Another perspective possible was from the front with focus on the face and its long tongue. I went for the angled view, which showed most of its features and the pose has a certain dignity to it.
I drew my guides on a 140lb hot-press paper very lightly using an F pencil (note that the image above was intentionally darkened for better visibility online). The drawing is only detailed enough to show me the outline and general structures within. I observed patterns instead of drawing each and every scale on the skin. The scales varied in size, shape, color and direction, depending on their location on the lizard’s body. Contour lines will help me with scale placement when I fill in the details later with watercolors.

Step 2: Rendering the skin and form
First I laid in the skin pattern, observing the size and shape of the scales and following the contour lines I drew in earlier. This helped me greatly in suggesting not just the musculature beneath the skin, but also the flabby and loose folds characteristically present on this type monitor lizard.
Putting in the details first may seem counter intuitive as subsequent layer applications can agitate and lighten them but it is this tendency that I hope to exploit.

Step 3. Colors used
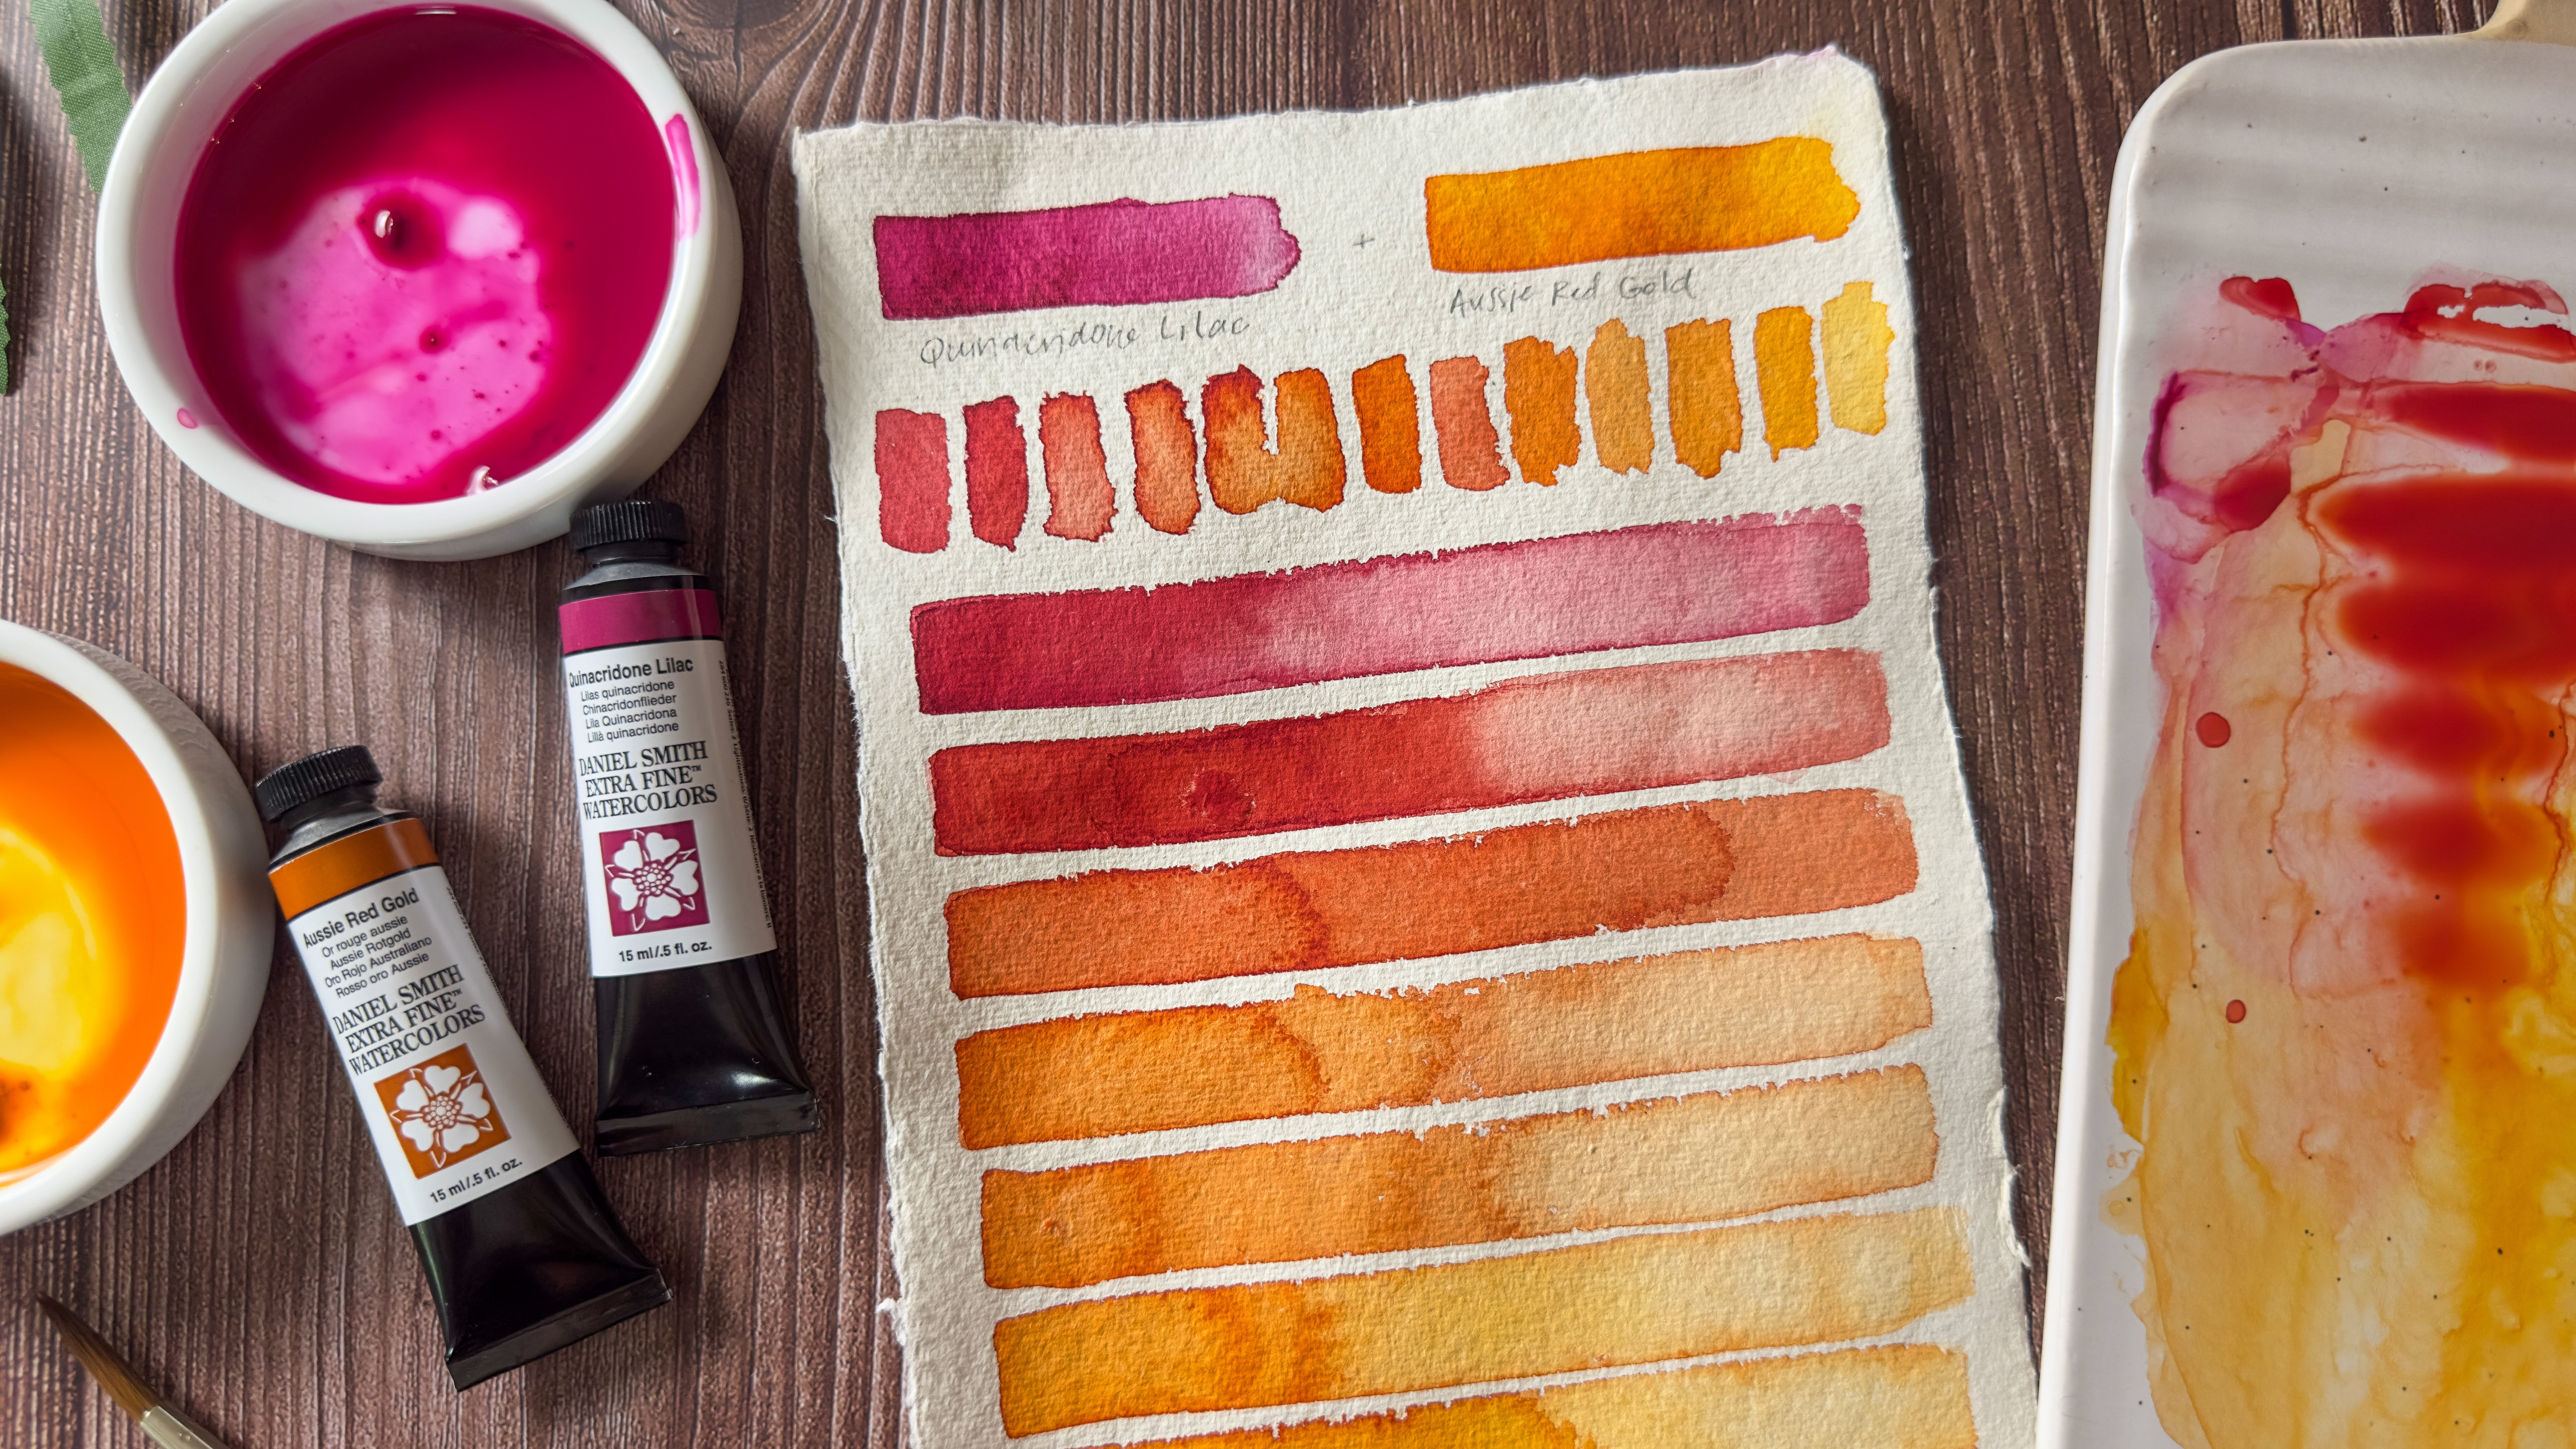
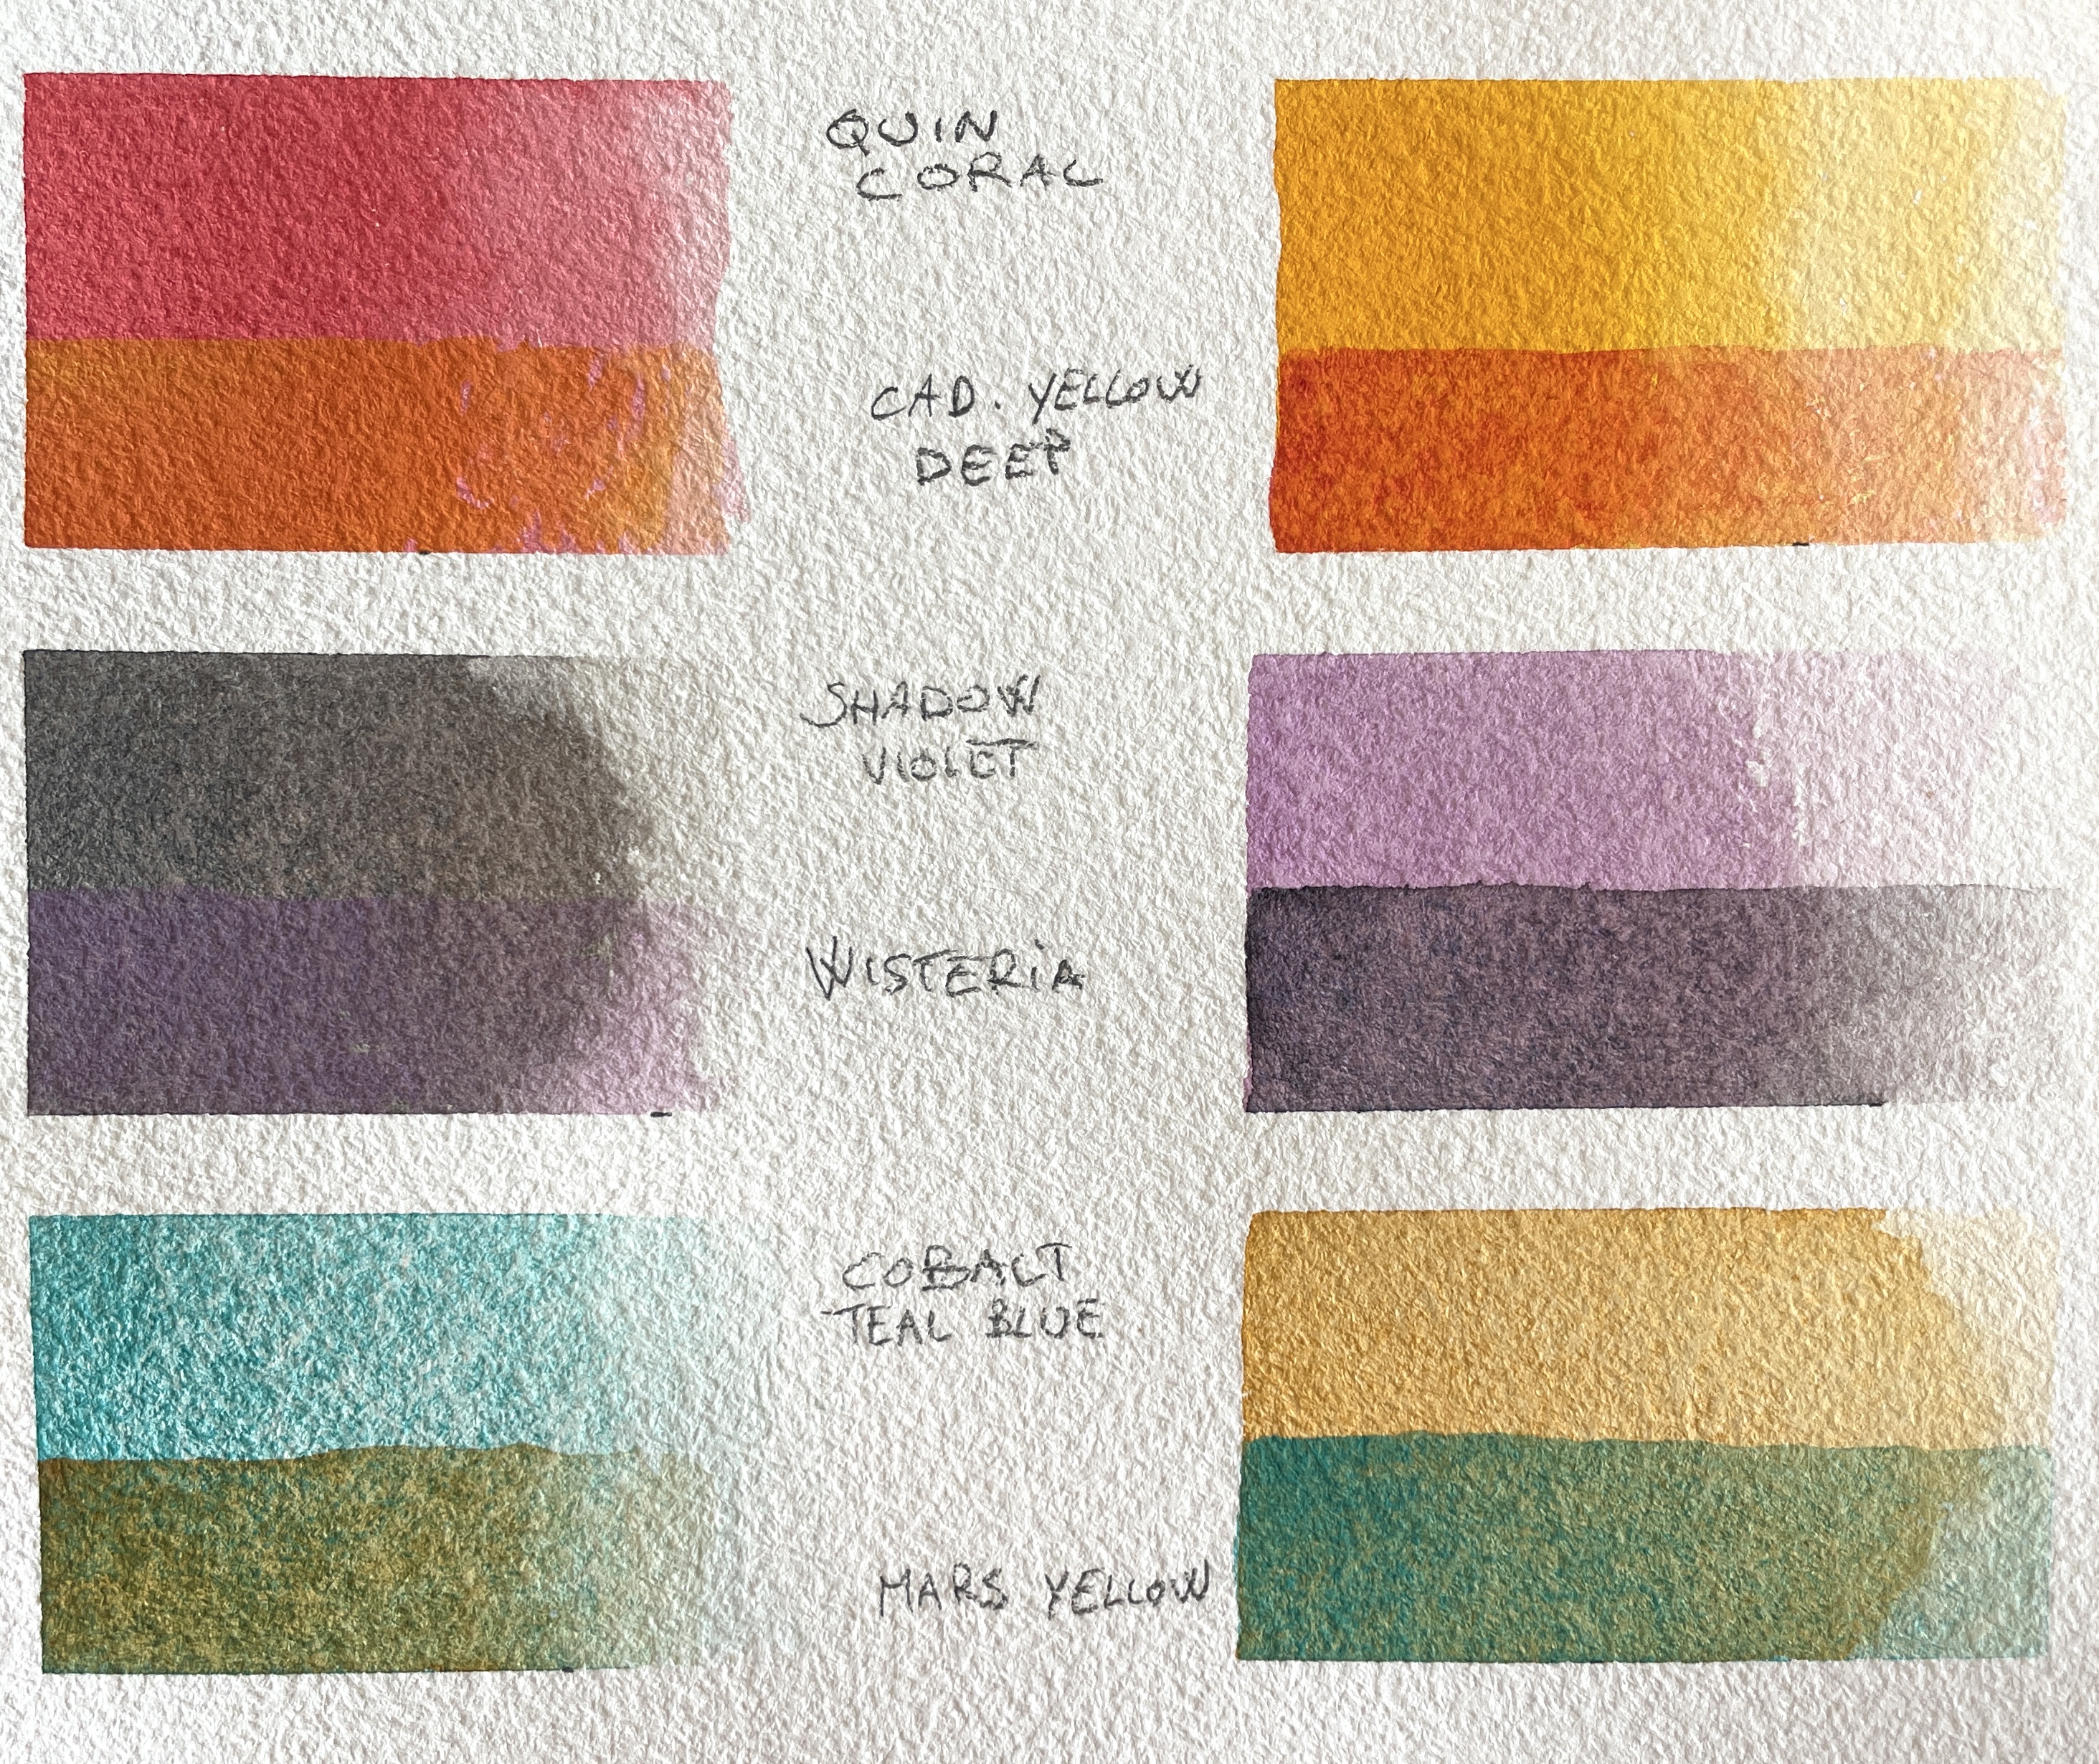
The base color for the outlines is Gray Titanium. I tweaked this with Aussie Red Gold or Lemon Yellow for yellow scales. and mixed it with Red Jasper Genuine or Quinacridone Red to produce pink tinged scales. The addition of Alvaro’s Fresco Grey yields a beautiful blue gray.
Step 4: Wash application to suggest form and emphasize features
After I finished laying the pattern on the ventral (underside), I applied a wash of darker local color over the areas where there are to be shadows and gradations where there are to be skin folds. This action serves both to soften the detailing under this new layer, while strengthening the illusion of form.
The last step for an area is dry brush detailing to emphasize or enhance a feature – more on this later. To allow an area I just worked on to dry completely, I moved to other parts.
The back of the lizard is darker compared to its underside. For the outlines, I switched to Alvaro’s Fresco Grey, which has a bluish suggestion to it and supplemented this with Cobalt Blue.
Step 5: Brush, masking and leave-outs
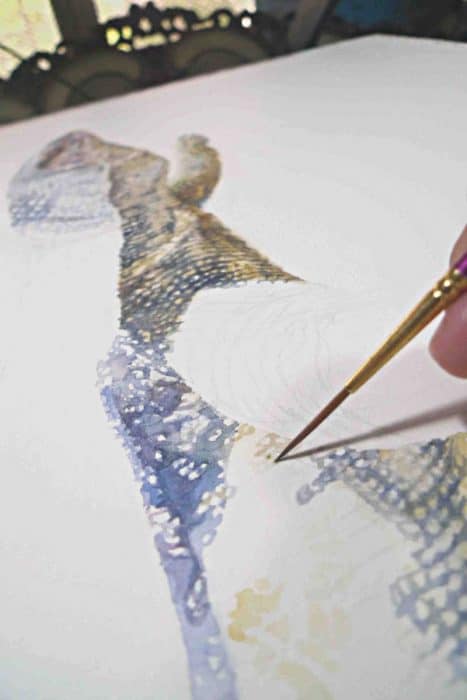
A number 2 rigger brush made of synthetic sable proved convenient for creating the honeycomb like pattern on the lizard’s skin. Its longer brush body holds more paint than a round brush of the same size. This allowed me to work longer on outlining with fewer pauses to reload. Here, I was applying Gray Titanium rings in preparation for rendering the yellow spots on the lizard’s skin. This light gray lets me define and transition to the adjacent colors (blue and yellow) easily.
Masking fluid can be a good tool for preserving whites or light areas but since I wanted soft edges, I opted for leave-outs.

Step 6: Modeling with paint
Another example of how the shape and size of scales, and observing contour and direction can suggest form and underlying musculature.
Step 7: Use of contrast and establishing a light source
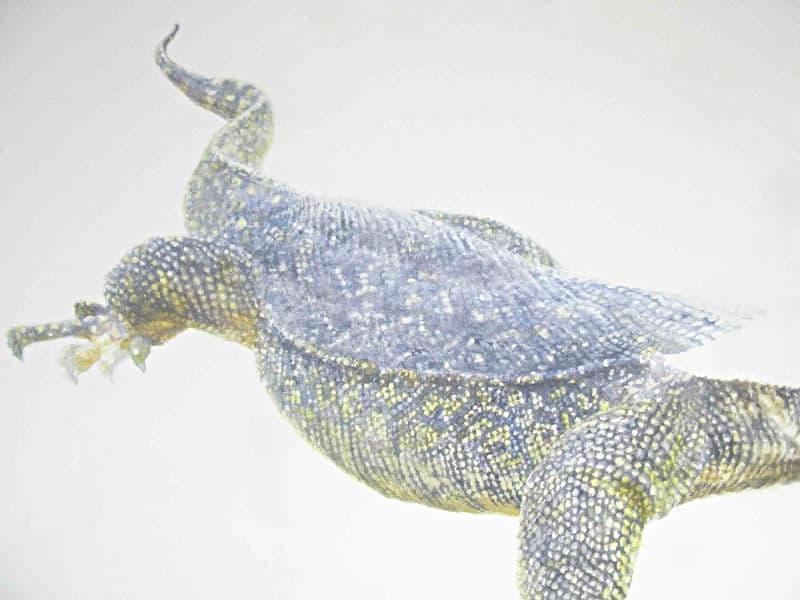
Even posed at an angle, the length of the subject was a challenge. To appreciate the entirety of the lizard, one would have to look at it from head to tail and vice-versa. When both ends (head and tail) are positioned near the edges of the painting, the viewer’s attention might follow this lead and leave the painting. To counter, I lightened the colors for the tail and snout, lessening the contrast between them and the background. I placed greater contrast towards the central area of the painting, which should entice the wandering eye back into the frame.
To help make this change in lightness look logical, I imagined an overhead light source and adjusted the colors on the lizard’s back to reflect this. For this area, I used a variation of all the gray neutrals with Cobalt Blue and Lemon Yellow as a base.
Step 8: Finalizing with a dry brush
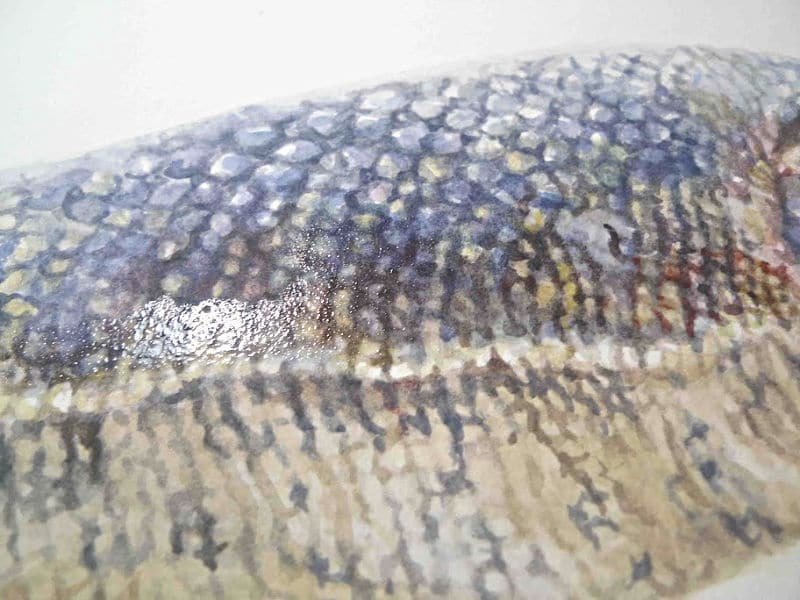
I finish areas by dry brushing in some darks to highlight features like this line that transects the body of the lizard. A bit of Perylene Maroon mixed with Alvaro’s Fresco Grey that’s applied strategically can bring the feature out. The shine on the left is a clear water application to correct a spot.
Step 9: The perception of the whole
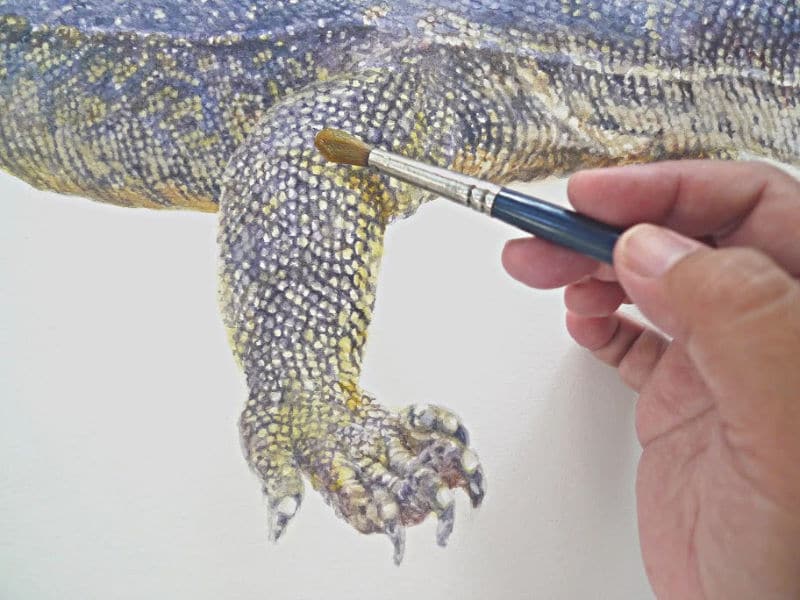
After completing all the parts, I step back and analyze the overall image. Even though a tremendous amount of time has been dedicated to detailing the skin pattern, it must be the monitor lizard that registers with the viewer. The sum before the parts. Fine detail appreciation should be secondary to the integrity of the whole.
An old synthetic round brush used with clear water can be great for softening areas where the detailing looks too stark. This only removes some of the surface pigment. Hot-press paper stains easily. This color stain on the paper can still provide enough definition for the skin pattern to look convincing.
Step 10: Anchoring the image to the ground
A shadow painted underneath the monitor lizard helps anchor it onto a surface and completes the 3D look.

This painting received an Honorable Award in the Wildlife Realism category at the Abu Rawash Price Third International Watercolor Contest.


